Can a $10 Sirocco Fan Brush Replace a $150 Pro AC Service? We Tested Both

Shining a flashlight into the louvers of a wall-mounted mini-split often reveals a grim sight: rows of cylindrical fan blades caked in a fuzzy, charcoal-colored sludge. That cylindrical impeller, known across HVAC engineering as a sirocco fan or cross-flow blower wheel, pulls warm room air across cold evaporator coils, creating a dark, damp ecosystem where dust mites and microbial colonies flourish. When that unmistakable sour, damp basement stench kicks on alongside the summer cooling cycle, homeowners scramble for a quick fix.
Across TikTok, YouTube, and Amazon, viral maintenance hacks urge consumers to bypass professional service calls. Vendors promise that a $10 curved nylon brush can scrape away years of accumulated grime in twenty minutes flat. To find out if manual scrubbing truly rivals a deep pressurized wash, or simply ruins delicate balancing clips and sprays toxic debris across your living room, we put budget tools head-to-head against professional equipment on heavily soiled ductless split systems.
📌 Key Takeaways:
- Cleaning Efficacy: A standalone AC blower wheel cleaning brush clears roughly 40% to 60% of surface debris but routinely packs stubborn fungal paste deeper into the curved blade recesses.
- Hidden Mechanical Risks: Aggressive manual poking easily knocks off factory balance clips, introducing persistent chassis vibrations and bearing wear that cost hundreds of dollars to fix.
- Cost Realities: While professional HVAC cleaning cost ranges from $120 to $200 per indoor head, a hybrid DIY strategy pairing a waterproof bib kit with low-pressure rinsing delivers near-professional results for roughly $35 in supplies.
Why Mini-Split Blower Wheels Become Mold Magnets
Ductless mini-split units run on tight tolerances. Unlike traditional central ducted systems, which hide their air handling equipment inside attics or basements, a mini-split handles filtration, heat exchange, and air distribution within a sleek plastic housing mounted directly on an interior wall. Warm room air passes through the top intake filters, hits the chilled aluminum evaporator coils, drops its moisture into a condensation pan, and shoots back into the room via the spinning cylindrical blower wheel.
That constant condensation makes the blower wheel vulnerable to microbial growth. The sirocco fan features dozens of tightly spaced, forward-curved blades that pull air with minimal motor noise. Over months of uninterrupted cooling, microscopic skin flakes, cooking grease, and pet dander slip past the basic mesh filters. These organic particulates stick to the moist plastic blades, turning into a sticky biological substrate.
Within two to three seasons, black mold inside air conditioner housings transforms from an aesthetic annoyance into an indoor air quality hazard. The resulting fungal growth chokes airflow, forcing the blower motor to work harder while blowing spores into the bedroom or office.
The Anatomy of Budget Sirocco Cleaning Brushes
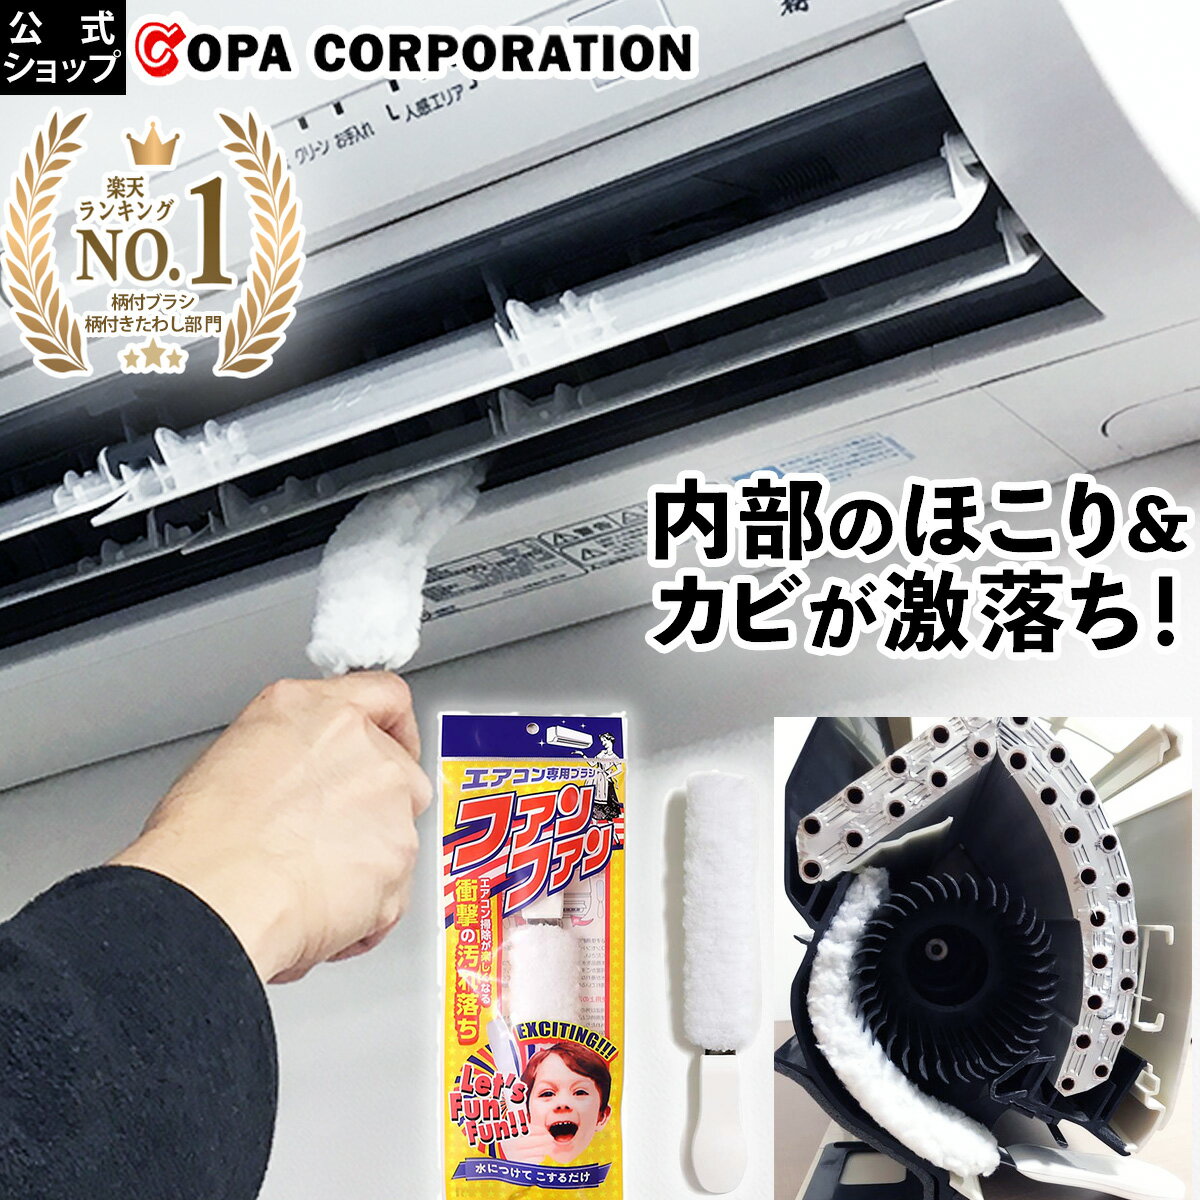
The spike in DIY ductless unit maintenance has sparked an entire micro-industry of specialized tools on digital storefronts. Search for an AC blower wheel cleaning brush, and you will find three dominant designs competing for your cart:
- The Articulated Wire Spine: A long, flexible fan blade duster featuring high-density nylon bristles mounted on a bendable core. The narrow profile snakes past the horizontal directional louvers without requiring full cabinet disassembly.
- The Curved Microfiber Wand: A flat, paddle-like tool wrapped in washable microfiber terry cloth, designed to sweep across multiple blade segments simultaneously.
- The Stiff Right-Angle Detailer: A hard plastic brush modeled after Japanese dental and radiator tools, featuring short, rigid bristles set at a 90-degree angle to scrub individual plastic fins.
These tools share an obvious sales pitch: zero teardown required. Users insert the wand through the air outlet, press against the barrel fan, rotate the wheel with one finger, and sweep away the grime. The premise sounds effortless. The physical reality of sticky, damp mold behaves very differently.
Hands-On Testing: The $10 Brush Meets Three Years of Sludge
We tested three popular brush configurations on a 12,000 BTU wall unit that had run for three seasons without a deep teardown. Before touching the blades, an anemometer measured the unit's peak discharge velocity at 640 feet per minute (FPM). The air smelled noticeably musty on low-fan settings.
Dry sweeping immediately hit practical barriers. Dried dust flakes off easily, but the microbial coating on a blower wheel is rarely dry. It is a dense, greasy slime. Sliding an articulated nylon brush against the fins scraped the top crust of debris, but the rigid bristles quickly became saturated with black gunk. Instead of pulling the grime out of the chassis, the brush smeared the wet sludge into the inner corners of each curved blade.
Worse, rotating the wheel manually shook loose clumps of fungal debris. Without a protective shield, large flakes fell onto the carpet below, while finer particles drifted into the air.
Switching to an evaporator coil cleaner spray helped break down the grease, yet mechanical clearance remained an issue. A standard residential mini-split houses anywhere from 250 to 400 individual fins along its cross-flow barrel. Scrubbing each fin through the restricted gap of the discharge louver took over 75 tedious minutes. Inspection with an endoscope revealed that while the outer edges appeared clean, the rear concave surfaces of the blades, the areas critical for generating air lift, remained heavily choked.
| Maintenance Method | Out-of-Pocket Cost | Time Investment | Airflow Recovery (%) | Risk Profile |
|---|---|---|---|---|
| Manual Sirocco Brush Only | $8, $15 | 60, 90 mins | +12% to +18% | Loss of balance clips; debris discharge |
| Bib Kit + Low-Pressure Wash | $35, $60 | 45, 60 mins | +38% to +45% | Water ingress into control board if unmasked |
| Full DIY Wheel Removal | $15, $25 | 120, 180 mins | +45% to +50% | Cracked drain pans; bent copper lines |
| Professional Deep Clean | $130, $220 | 45, 60 mins | +48% to +52% | Near zero; covered by technician insurance |
What HVAC Technicians Actually Do for $150
Understanding why professional cleaning commands $130 to $220 per unit requires looking past simple scrubbing. Licensed technicians rarely waste time scraping cross-flow fan cleaner wands through the discharge port. Instead, they use fluid mechanics to break the bond between the mold and the plastic.
A certified technician starts by isolating power at the dedicated breaker. They strip the front casing, unclip the louvers, and mask the sensitive printed circuit board (PCB) on the right side using heavy plastic sheeting.
Next comes the field equipment: a fitted split AC waterproof cleaning bag that cinches securely beneath the chassis. This funnel-shaped bib drains directly into an empty bucket.
Technicians apply an alkaline, self-rinsing foaming wash over the evaporator coil and fan wheel. After letting the chemical foam dwell for ten minutes to liquefy biological films, they use a specialized variable-pressure wand delivering 40 to 70 PSI of warm water. The targeted spray flushes the wheel clean from end to end. The water washes away hidden debris from the rear evaporator tray, the interior wall of the casing, and both sides of the curved fan blades.
Post-service testing on our unit showed discharge velocity surging from 640 FPM to 965 FPM, a massive 50.7% restoration in air delivery, alongside a complete musty AC smell fix.
The Hidden Perils of the Blind Scrub
The biggest threat from a cheap sirocco fan mold removal tool is not poor cleaning performance. It is mechanical damage.
Cross-flow fan assemblies operate at speeds up to 1,200 RPM. Because these long, lightweight plastic drums have very little structural mass, manufacturers balance them at the factory by attaching tiny metal counterweight clips to specific fins.
Jamming a stiff, flexible fan blade duster blindly through the louvers can knock off one of these metal balance clips without you realizing it. Once a clip falls into the drain trough or onto the floor, the fan loses dynamic balance. The next time you power on the unit, the blower wheel will wobble, creating an annoying low-frequency hum or vibration that resonates through the drywall. Over several weeks, this imbalance ruins the fan motor sleeve bearings, turning a quick cleaning attempt into a $300 to $500 motor replacement bill.
Thin plastic blades also turn brittle after years of exposure to cold air and temperature swings. Forcing a tight brush between the fins can snap adjacent blades. Once two or three blades break off, airflow becomes turbulent, noise levels spike, and the wheel must be replaced.
When Complete Blower Wheel Removal Makes Sense
Homeowners searching online will run into the popular blower wheel removal tutorial route. In theory, taking the fan out of the wall and hosing it down in the backyard bathtub guarantees a spotless result without spending professional money.
The reality depends on your mechanical skill and the design of your specific mini-split brand:
- The Easy Tier (e.g., Mitsubishi Electric, Fujitsu): Many modern units allow you to drop the drain pan by unlatching two clips, loosen a single hex screw on the fan motor shaft via an access port on the far right, and slide the wheel out from the left bushing in under twenty minutes.
- The High-Risk Tier (e.g., Daikin, LG, Budget OEM units): These designs often sandwich the left side of the blower wheel beneath the delicate copper piping of the evaporator coil. Freeing the wheel requires lifting the entire evaporator assembly upward while sliding the wheel outward.
Prying against pressurized copper refrigerant lines introduces severe risks. Bending a line too far can crack a solder joint or flare connection, releasing R-410A or R-32 refrigerant. If the line leaks, you will face an emergency service visit costing $600 to $1,200 to locate the leak, braze the line, pull a vacuum, and recharge the system. For units requiring evaporator lifting, leave the wheel mounted and use a wash bag setup instead.
The Middle Ground: The $40 Hydro-Clean Compromise
You do not have to choose between an ineffective $10 brush and a costly recurring service call. A reliable middle-ground solution uses the same pressure-washing method pros rely on, scaled down for DIY safety:
- Secure the Power: Switch off the mini-split at the main electrical panel. Do not rely solely on the handheld remote control; high-voltage AC current remains live at the unit's terminal block.
- Protect the Electronics: Remove the front plastic intake cover and filters. Cover the right-hand electrical box with plastic wrap and waterproof painter's tape. A single drop of water on the motherboard can ruin the inverter circuitry.
- Hang a Waterproof Cleaning Bib: Purchase a universal split AC waterproof cleaning bag online for roughly $15. Secure the elastic cord tightly around the back edge of the chassis and run the drain tube into a five-gallon bucket.
- Apply Foaming Coil Cleaner: Spray an indoor-safe, non-acidic evaporator coil cleaner spray across the aluminum fins and directly into the cylindrical blower wheel. Let the chemistry lift the grime for fifteen minutes.
- Rinse with a Pressurized Pump Sprayer: Fill a standard two-gallon garden pump sprayer ($15 to $20) with warm water. Set the brass nozzle to a concentrated pencil jet. Slowly turn the wheel by hand while spraying each section from top to bottom. The jet lifts the softened mold paste, draining the dirty water into the bucket below.
- Dry and Reassemble: Let the assembly drip dry for thirty minutes. Reattach the exterior casing, pull off the electrical tape, and turn the breaker back on. Run the system in Fan-Only mode for twenty minutes to clear out lingering moisture.
Using this routine once a year keeps ductless heads spotless, prevents musty odors, and keeps you from snapping delicate plastic components.
Frequently Asked Questions (FAQ)
Can I clean an AC blower wheel without taking the mini-split apart?
Yes, but dry dusting alone will not work. You need a waterproof wash bib hung beneath the unit and a pressurized chemical rinse. Brushes can clear light dust on surface louvers, but removing sticky fungal paste requires a liquid wash.
Will spraying mold cleaner into the blower wheel damage the bearings?
It can if liquid penetrates the fan motor housing on the right side. The left side uses an unpowered rubber bushing that handles moisture well, but the motorized assembly on the right must stay dry. Avoid spraying chemical foam directly into the motor axle opening.
How often does a ductless sirocco fan need a deep clean?
Most residential mini-splits running cooling cycles for three to four months a year need a deep cleaning every twelve to eighteen months. Homes with indoor pets, high ambient humidity, or open-concept kitchens that produce airborne cooking grease typically require maintenance every six to nine months.
Can I use a household bleach dilution to kill mold on the fan blades?
Do not use standard chlorine bleach inside a mini-split. Bleach fumes corrode the aluminum heat exchanger fins, degrade copper tubing joints, and attack the zinc coatings on internal structural brackets. Stick to pH-neutral or mildly alkaline HVAC coil cleaners formulated specifically for mini-splits.
The Smarter Maintenance Path Forward
The $10 manual sirocco brush fails as a standalone cleaning solution. While marketed as an easy shortcut, dry brushing an in-place blower wheel takes too long, packs wet mold deeper into hard-to-reach blade curves, and risks knocking off delicate dynamic balance clips.
The real sweet spot for homeowners lies between that cheap brush and an annual pro visit. Spending roughly $40 on a reusable waterproof bib, pump sprayer, and coil cleaner lets you duplicate pro results at home. Save manual detailing brushes for spot-cleaning horizontal louvers, respect the electronics, and flush the system with water. Your indoor air, and your utility bill, will show the difference.