Round Screw or Stripped Head? How to Identify and Remove Stuck Fasteners

A screwdriver slips once, bites crookedly on the second turn, and suddenly the fastener head turns into a smooth, featureless bowl. In other cases, DIYers stare down what appears to be a completely round fastener on a bed frame, door escutcheon, or bracket, wondering how any tool could possibly grab it. Hardware failures like these halt repairs instantly, often leading people to gouge surrounding wood or crack expensive plastic housings in frustration. Testing and workshop data highlighted in a bobvila.com Report demonstrates that using the wrong driver profile or incorrect bit sizing accounts for over 60 percent of fastener cam-outs.
Before reaching for a drill to bore through the problem, you must determine what you are actually looking at. Some fasteners are designed without internal drives, hiding secondary release mechanisms, while others are simply mangled steel requiring progressive mechanical intervention.
📌 Key Takeaways:
- The Diagnostic Check: A smooth exterior often hides a decorative snap-on cap, a security carriage bolt, or a concealed setscrew rather than a ruined drive.
- The Grip Threshold: Minor cam-out damage responds well to friction shims, while recessed roundings demand mechanical bite through torx tapping or rotary cutting.
- Extraction Protocol: Threaded extraction requires disciplined speed; running a reverse drill bit too fast work-hardens the screw, making extraction twice as difficult.
The Visual Inspection: Decorative Caps, Carriage Bolts, and Damaged Heads
Before attacking the hardware, inspect the geometry under direct light. A fastener that looks completely round usually falls into one of three distinct categories: intentional smooth hardware, concealed hardware, or a severely damaged screw head.
First, check for a cosmetic cap. Modern interior doors, bathroom accessories, and flat-pack furniture frequently use snap-on plastic covers or threaded brass caps to hide mounting screws. Slide a thin utility knife blade or razor along the seam where the metal meets the fixture face. If the edge yields, gently pry outward; a standard Phillips or hex fastener often sits undisturbed beneath. Similarly, examine the underside or perimeter of the fixture for a tiny grub screw. Door handles and towel bars regularly use a hidden 2mm or 2.5mm hex setscrew on the bottom edge to lock an outer collar over a hidden mounting plate.
Second, check the rear side of the material to confirm you are not fighting a carriage bolt. Carriage bolts feature a domed, completely smooth head with no drive slot whatsoever. Beneath that dome lies a square shank seated into the wood to prevent spinning. The tightening and removal happen entirely from the opposite side using a nut and washer. Trying to turn a carriage bolt head from the front will only scar your workpiece.
If the head shows jagged metal shavings, a discolored silver crater, or rounded internal corners, you are dealing with a cammed-out fastener. Phillips screws fail when the driver rides up the angled flutes under heavy torque. Hex and Torx fasteners round out when users insert imperial keys into metric fittings, a common failure documented by bicycle mechanics at Escape Collective, where a 0.5-millimeter tolerance mismatch instantly strips a stuck titanium or aluminum bolt head.
Low-Impact Friction Tactics for Lightly Jammed Screws
If the internal drive profile still possesses shallow indentations, high-friction interfaces can provide enough purchase to back the fastener out without invasive cutting.
The duct tape screw trick provides an immediate first line of defense for light assembly screws in electronics and cabinet hinges. As detailed in consumer repair testing from USA Today, placing a strip of heavy-duty duct tape sticky-side-down over the damaged screw head fills microscopic voids between the driver bit and the wallowed metal. Press the screwdriver tip firmly into the tape, seating it as deeply as possible into whatever recess remains.
For fasteners set into hardwood or metal brackets, a wide rubber band often outperforms duct tape due to its elastomeric thickness. Cut a piece of a thick rubber elastic, center it across the hole, and apply downward pressure with an exact-fit hand driver. The rubber flows under pressure into the worn gaps, dramatically boosting friction.
When rubber bands sheer, mechanics rely on valve grinding paste or friction drops. These chemical suspensions contain microscopic silicon carbide particles. A single drop placed in a rounded drive creates an abrasive grip between the metal surfaces, counteracting the cam-out tendency on fasteners tightened under roughly 5 to 7 Newton-meters of torque.
Extraction Methods Compared by Risk, Tooling, and Fastener Type
When basic friction tricks fail, mechanical escalation becomes mandatory. The following breakdown shows the progression from low-impact adjustments to aggressive destructive removal:
| Extraction Method | Ideal Fastener Scenario | Required Tooling | Surface Damage Risk |
|---|---|---|---|
| Friction Shims (Tape / Rubber) | Shallow cam-out, small cabinet screws | Heavy duct tape, elastic band, hand driver | None |
| Torx Bit Tapping | Rounded internal hex (Allen) bolts | Slightly oversized Torx bit, hammer, ratchet | Low (internal distortion only) |
| External Locking Pliers | Raised pan, round, or truss head screws | Curved-jaw locking pliers or screw pliers | Moderate (perimeter scuffs) |
| Rotary Tool Slotting | Countersunk or flush screws with metal access | Dremel with reinforced cut-off wheel, flat driver | High (risk of kerf marking wood/plastic) |
| Spiral Flute Screw Extractor | Deeply recessed screws, seized threads | Screw extractor kit, reverse drill bit, variable drill | Low to Moderate (depends on center drilling) |
| Fastener Removal Socket | Rounded bolt removal, rusted exterior hex nuts | Reverse-spiral extraction socket, impact wrench | Low (focused purely on bolt head) |
Chemical Release and Percussion: Penetrating Oil Meets the Impact Driver
Friction improvements mean nothing if corrosion locks the threads solid. Galvanic reaction between steel screws and aluminum housings, or plain iron oxide rust inside wood studs, creates a chemical bond that exceeds the fastener's shear strength.
Work from the chemistry up. As long-standing workshop guidance from Family Handyman emphasizes, standard multi-purpose lubricants lack the surface tension necessary to creep down microscopic thread pitches. Apply a specialized penetrating oil with high capillarity, such as PB Blaster or Kroil, directly at the joint interface. Let it sit for at least 15 to 30 minutes. If the hardware is mounted vertically, saturate a small cotton ball and hold it against the head so the fluid continuously feeds the threads.
Once the oil penetrates, shock the assembly. Do not confuse a high-RPM cordless drill with a manual impact driver. A manual impact driver is a heavy steel cylinder that converts a direct hammer blow into a sudden, high-torque counterclockwise pulse while driving the bit downward. This downward strike ensures the bit stays seated in whatever recess remains, breaking rust crystallization without permitting the bit to cam out. Strike the back of the manual impact driver cleanly with a dead-blow mallet. Two solid blows often free threads that resisted minutes of straining by hand.
Machining a New Drive: Rotary Tool Slotting and Torx Bit Tapping
When internal screw splines dissolve into a crater, you can fabricate a completely new mechanical interface.
Torx bit tapping is the standard remedy for rounded-out internal hex fittings. Internal hex keys touch only six distinct contact points. A Torx (star) bit features six robust lobes that operate on wider angles. Select a Torx bit one fraction larger than the stripped hex hole (for instance, a T25 or T27 bit for a stripped 4mm hex socket). Align the Torx bit squarely over the ruined opening and drive it into the metal using deliberate hammer taps. The harder Torx splines cold-form fresh matching channels into the softer fastener metal. Seat a ratchet onto the bit, apply heavy downward body weight, and turn slowly.
For flat or countersunk screws with zero interior shape left, use rotary tool slotting. Mount a fiberglass-reinforced cutting disc onto a high-speed rotary tool. Hold the tool with both hands, align the wheel precisely across the center of the damaged screw head, and grind a clean, straight trench. Cut just deep enough to accommodate a wide, heavy-duty flathead screwdriver without cutting completely through the fastener's neck. Clear the metal debris, insert the largest flathead bit that fits the newly cut slot, and back the screw out smoothly.
Heavy-Duty Extraction: Reverse Bits and Specialized Sockets
Deeply recessed fasteners and sheared bolts that sit beyond the reach of rotary wheels require dedicated machining extractors.
A commercial screw extractor kit uses a two-step process: drilling and gripping. First, chuck a left-handed reverse drill bit into your drill, setting the motor rotation to reverse (counterclockwise). Left-handed bits cut while turning left. Center-punch the damaged screw to prevent drill walking, then begin drilling down the shaft at low RPM. Keep drill speed under 400 RPM and apply steady lubrication. High speeds generate friction heat, annealing the screw and dulling the drill bit within seconds. Frequently, the heat and reverse bite of the drill bit catch the screw and back it out spontaneously during the preliminary drilling phase.
If the reverse bit merely creates a pilot hole without spinning the screw, insert the tapered, reverse-threaded stripped screw extractor into the newly drilled channel. Turn the extractor slowly by hand using a tap wrench. As it turns counterclockwise, its coarse left-handed threads bite aggressively into the inside walls of the screw. Once it bottoms out, that mechanical lock forces the fastener to rotate out with the tool.
For exposed fastener heads with stripped exterior perimeters, locking pliers provide reliable holding force. Clamp curved-jaw locking pliers horizontally onto the rim of the screw head, tightening the set-knob until squeezing the levers shut requires two hands. The heat-treated teeth bite into the outer rim, providing leverage perpendicular to the screw axis.
Where bolt heads have completely rounded off in automotive or industrial machinery, mechanical engineering firms like NBK have pioneered dedicated fastener removal socket systems. As reported by Design World, these sockets feature aggressive internal spiral flutes machined in reverse geometry. Slipped over a damaged hex head, the internal splines dig deeper into the hardened bolt body the more counterclockwise torque you apply. This eliminates slipping even on bolts stripped completely circular, making rounded bolt removal achievable without destructive torching or chassis drilling.
Frequently Asked Questions (FAQ)
Q1: Why does my door handle screw have a smooth face and no drive slots?
A1: Interior door hardware often conceals mounting screws beneath decorative faceplates or escutcheon rings. Look along the edge or underside of the fixture for a small release notch to pry off the cosmetic cover, or look for a tiny recessed setscrew on the stem of the lever that releases the outer sleeve.
Q2: Can I reuse a screw once I extract it using an extractor kit or cut slot?
A2: No. Any fastener that required mechanical extraction, slotting, or tapping has suffered structural deformation and thread damage. Reinstalling it guarantees total failure during the next service. Discard it immediately and replace it with a grade-appropriate fastener featuring the correct drive style.
Q3: What should I do if a reverse drill bit or extractor snaps off inside the screw?
A3: Screw extractors are made from extremely hard, brittle tool steel that cannot be drilled out with standard high-speed steel bits. Do not try to force standard drill bits against it. You must use a solid carbide burr on a high-speed rotary tool to grind out the broken extractor piece, or weld a sacrificial nut onto the exposed top to back it out.
Fastener Care and Cam-Out Prevention
Extracting seized hardware wastes workshop hours that proper installation techniques prevent entirely. Cam-out occurs most often through drive mismatching. A common culprit is inserting a standard Phillips bit into a Japanese Industrial Standard (JIS) or Pozidriv (PZ) fastener; while they appear identical from arm's length, their flute geometry diverges completely, causing instant tool slippage under load.
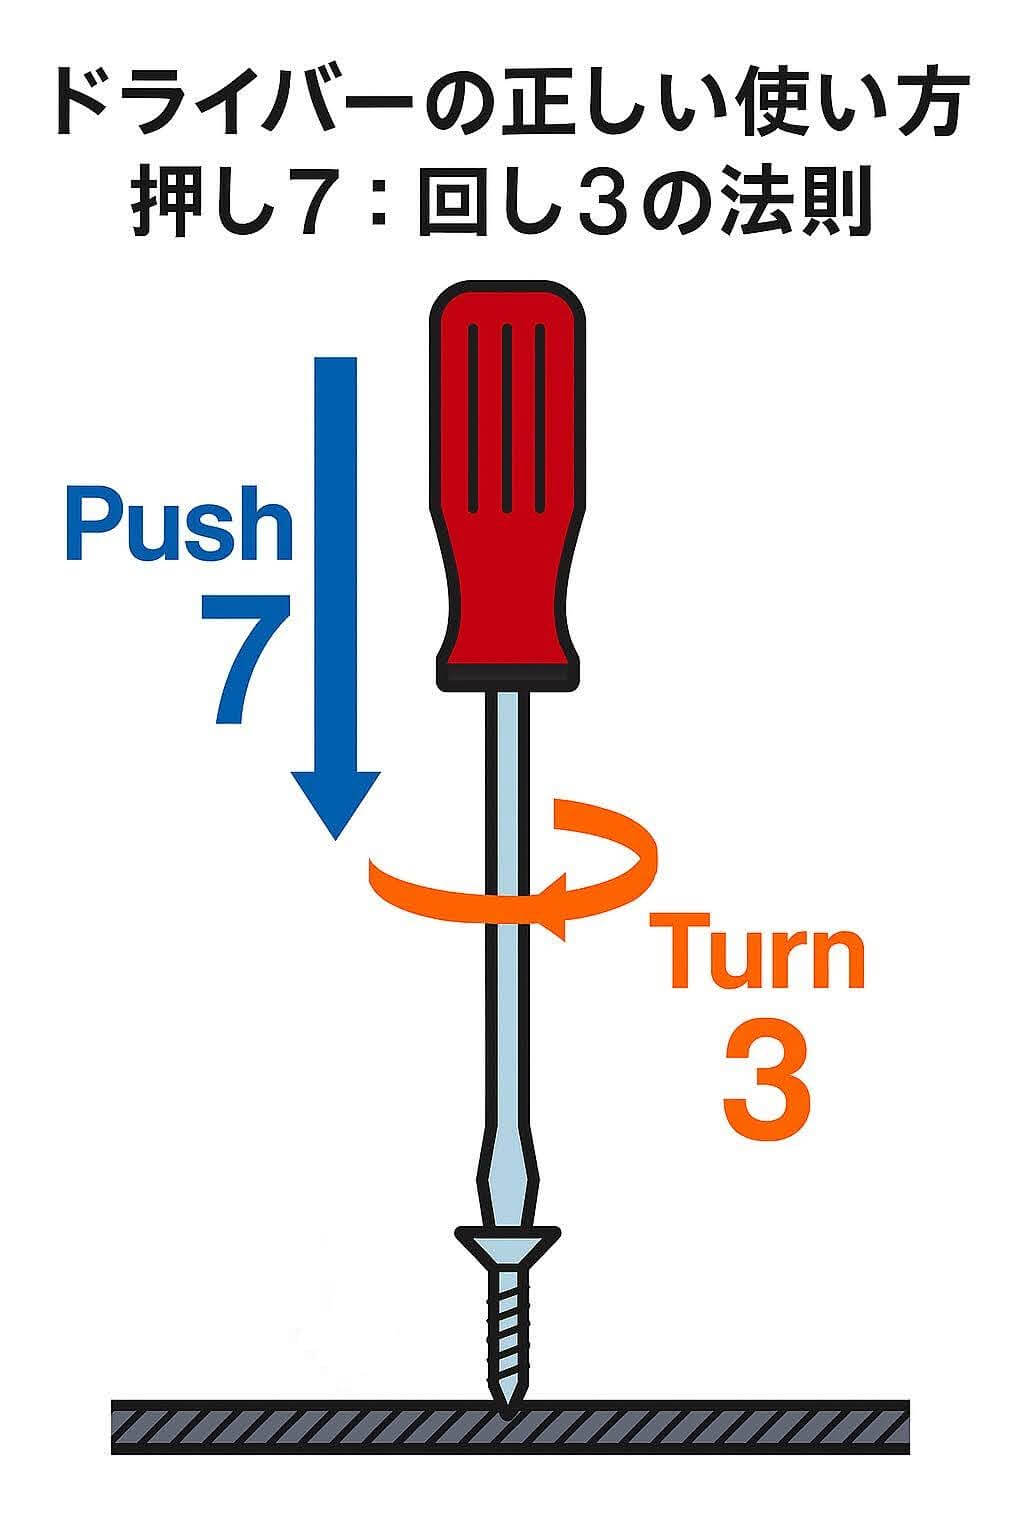
Inspect driver bits periodically under bright light. A worn, rounded screwdriver tip acts as a milling bit inside a screw head, shaving away structural metal before transmitting turning force. Match bit sizing to the fastener recess with zero axial play, keep drills aligned perfectly straight to prevent off-axis thrust, and set power-driver clutches low to avoid driving fasteners past their torque threshold. Investing in hardened S2 tool steel bits and maintaining direct downward pressure protects hardware integrity long before an extraction kit becomes necessary.