Step-by-Step Visual Guide: Crocheting a Custom Tumbler Sling in Under an Hour
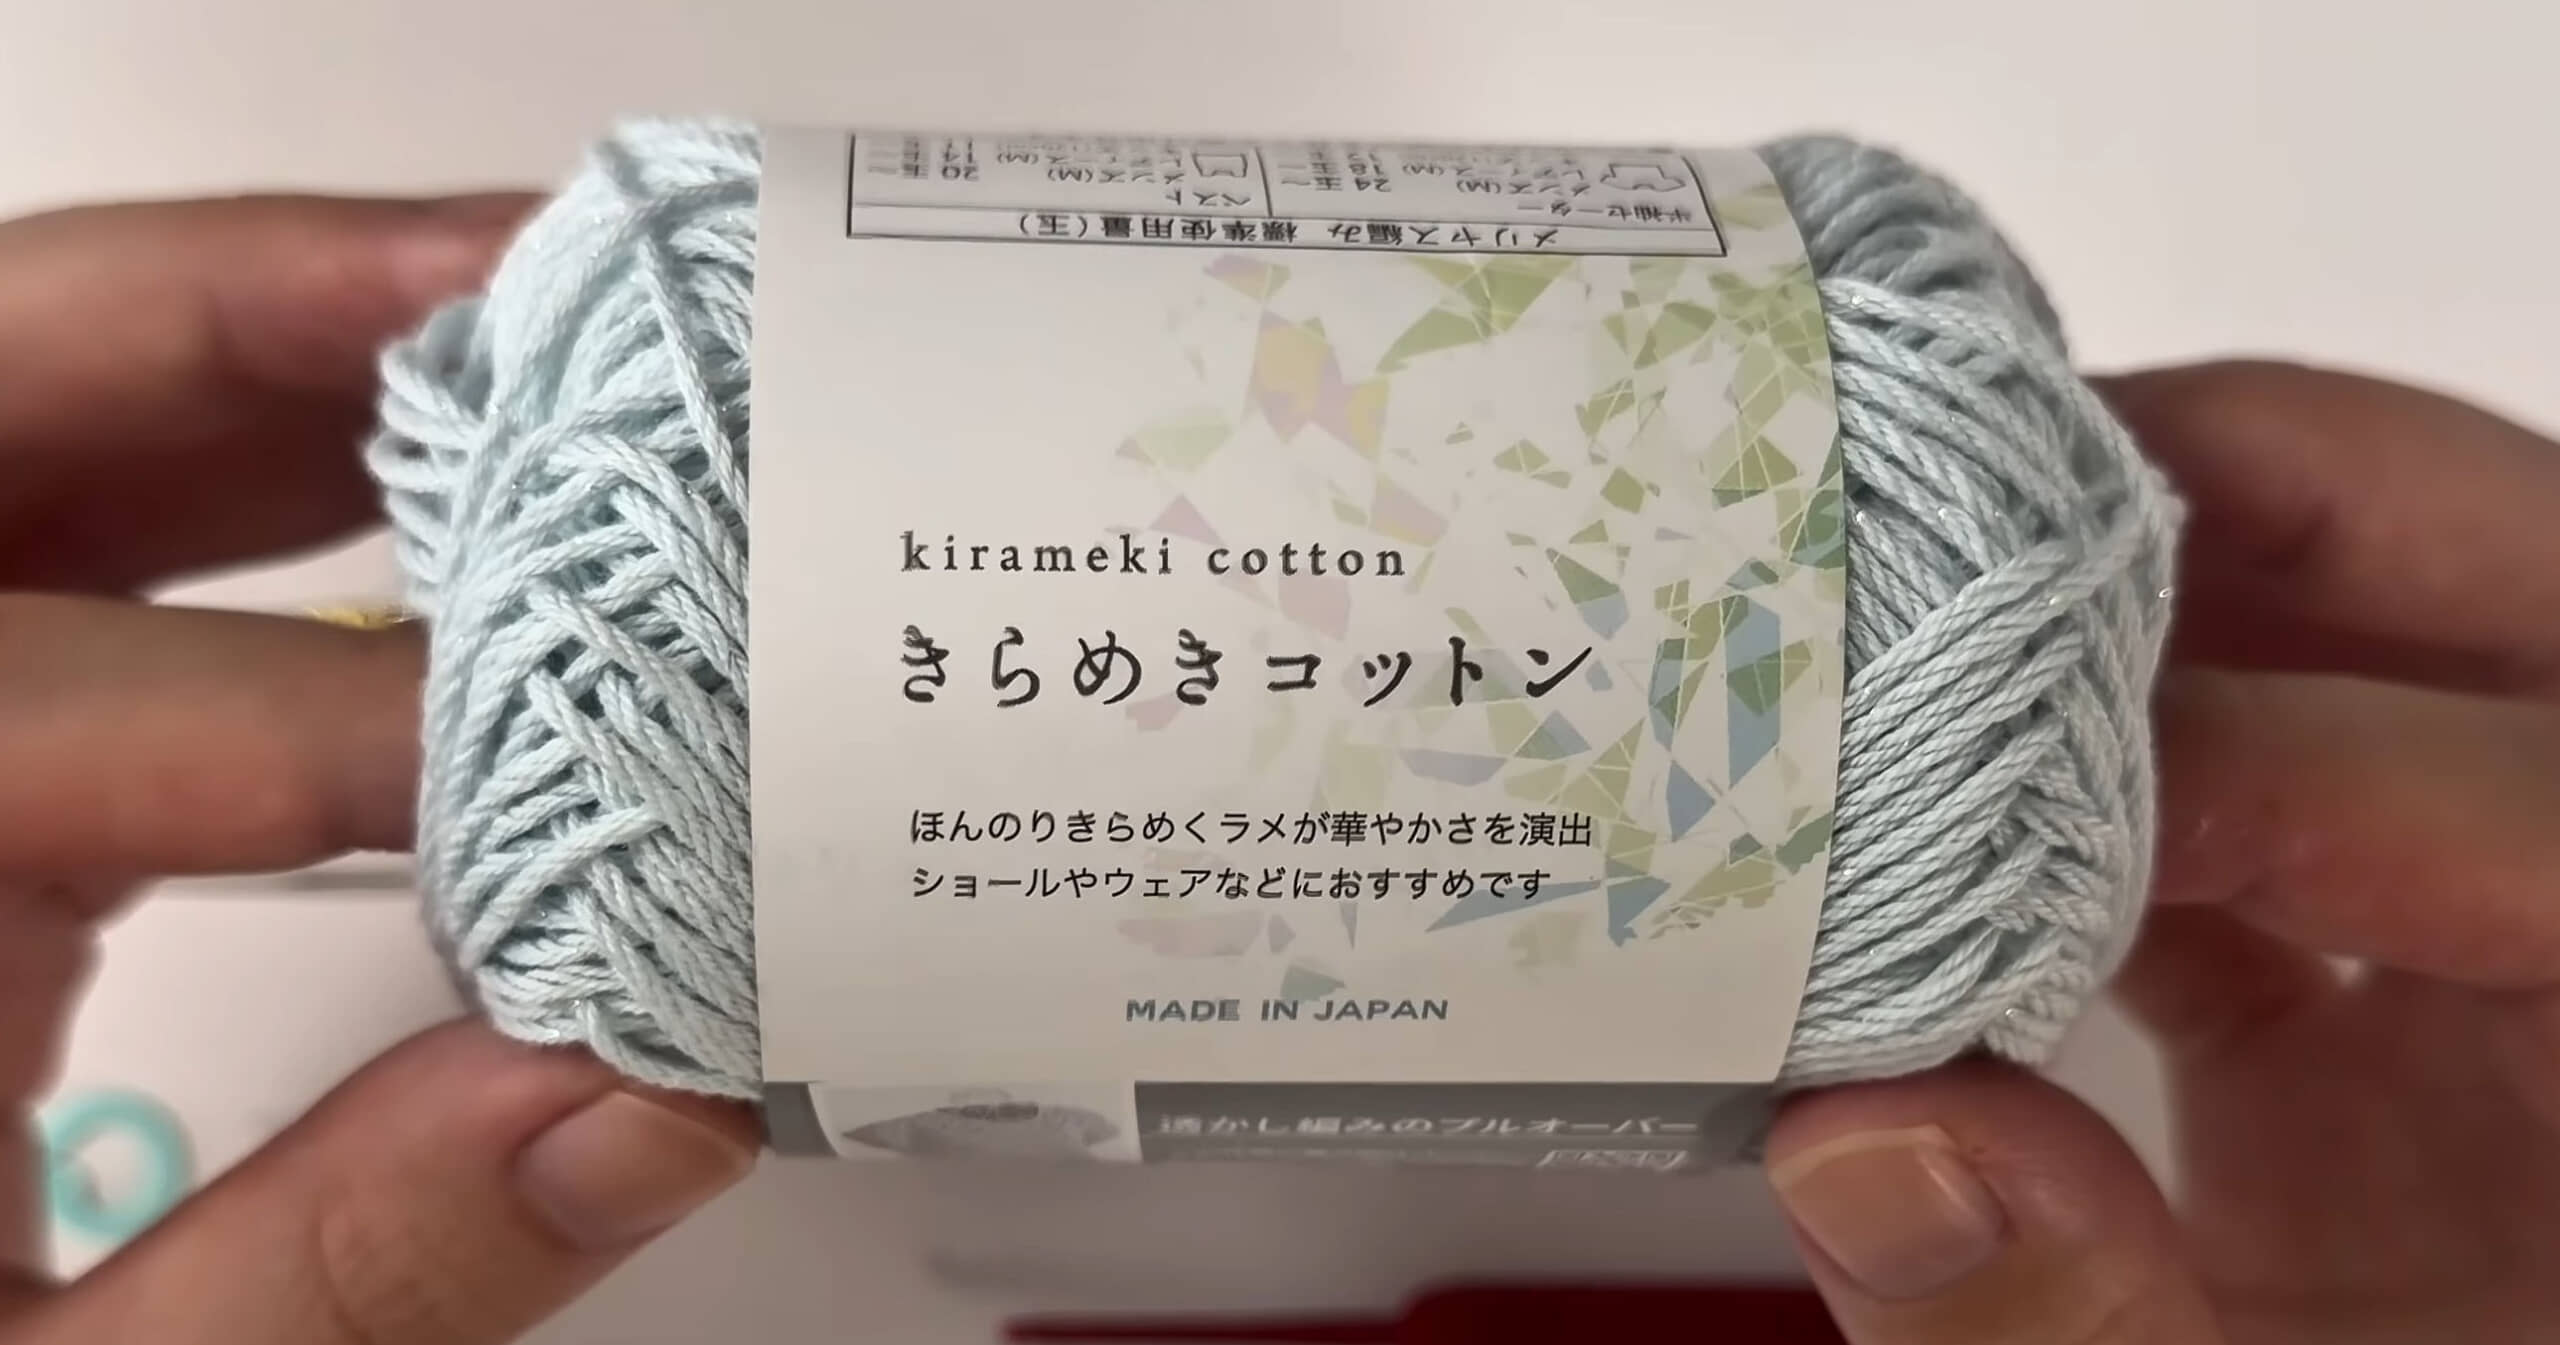
Carrying a heavy stainless steel tumbler through a crowded commute often turns into an awkward juggling act. Across international maker communities and Japanese craft circles alike, compact fiber projects have surged as practical solutions to everyday carry problems. As documented in a recent ITmedia Report, an inventive shell-motif bottle carrier crocheted from a single 100-yen Seria yarn skein quickly amassed over 100,000 views, sparking an international appetite for lightweight, budget-friendly drink holsters. This viral wave aligns with a wider craft resurgence documented by NHK Publishing, whose repeated printings of beginner accessory anthologies reflect surging public demand for functional, single-session projects.
You do not need a deep library of artisanal tools or months of technical training to make a dependable carrier. Working with basic crochet stitches and an inexpensive skein of cotton, anyone can assemble a custom-fitted sling that protects drinkware, absorbs condensation, and frees up both hands. This step-by-step crochet tutorial breaks down the construction into an accessible visual blueprint that fits standard to-go cups, glass tumblers, and insulated water bottles.
📌 Quick Summary:
- The Core Design: A snug, bottom-up cylinder anchored by a sturdy circular base, openwork lattice sides, and a reinforced cross-body or wrist strap.
- Material Efficiency: Built entirely from a single skein yarn project footprint using breathable 100% cotton to prevent water damage and thermal sagging.
- Skill Barrier: Requires only three foundational maneuvers, chain stitch, single crochet, and double crochet, paired with intuitive tension control.
The Rise of Single-Skein Utility Crafts
Fiber arts often carry a reputation for demanding massive investments of time and money. Large blankets require months of labor, and intricate garments demand dozens of expensive wool skeins. By contrast, the reusable coffee cozy and the water bottle carrier crochet movement flip that expectation entirely. A handmade drink holder delivers immediate utility within sixty minutes of cast-on, costing less than the price of a takeout latte.
Mainstream publishing trends confirm this practical pivot. In late 2024, NHK Publishing ordered emergency reprints of its *Suteki ni Handmade* winter accessories compilation due to runaway retail demand. By February 2026, educational craft publisher Nihon Bungeisha released an expansive visual pattern guide co-authored by popular fiber designers kiho., natsuki, and Shiori Matsuzaki under the supervision of Reiko Okuzumi. Veteran creators like Mochida Akari and craft writer Mijury have similarly drawn tens of thousands of newcomers to 100-yen craft aisles by highlighting how basic chain and loop configurations produce rugged daily tools.
These compact designs solve an annoying modern friction point. Insulated bottles slip out of backpack pockets. Sweat from iced drinks leaves rings on office desks. A well-fitted DIY tumbler sling creates a textured buffer, absorbs condensation instantly, and introduces an adjustable bottle handle strap that slips over wrists or handlebars.
Choosing Materials: Hook Sizes, Cotton Skeins, and Stretch Factors
Selecting yarn for a drink sleeve requires different criteria than choosing yarn for a winter scarf. Soft acrylics and untreated animal wools stretch excessively when subjected to weight. Once you drop a full 20-ounce hydro flask into an acrylic sling, the fiber elongates permanently, leaving the vessel dragging near your knees. Water exposure compounds the problem, creating odors and moisture traps against metal walls.
Unmercerized or mercerized cotton yarn cup sleeve designs remain the gold standard. Cotton fibers feature rigid molecular chains that resist longitudinal distortion. When wet, cotton increases in structural strength rather than degrading. Standard medium-weight (worsted/aran or DK) cotton paired with a 3.50 mm (US E-4) to 4.00 mm (US G-6) crochet hook yields dense, tight stitches that grip smooth exterior walls without sliding.
| Yarn Classification | Load-Bearing Stretch | Moisture & Condensation | Best Vessel Match |
|---|---|---|---|
| 100% Unmercerized Cotton | Low (0, 5% permanent elongation) | Exceptional absorbency; dries fast | Iced coffee tumblers & heavy flasks |
| Recycled Cotton Blend (80/20) | Moderate (6, 12% elongation) | Moderate absorbency; pill-resistant | Standard disposable paper cups |
| Standard 100% Acrylic | High (15, 25% severe sagging) | Hydrophobic; pools water at the base | Lightweight ceramic mugs (cozy only) |
| Jute / Flax Linen Cord | Near-Zero (0, 2% elongation) | Low absorbency; abrasive texture | Tough outdoor canteen bottles |
Following a standard crochet hook size guide, drop down one half-size from what the yarn label recommends. If a cotton ball suggests a 4.50 mm hook, use a 4.00 mm or 3.75 mm tool instead. This intentional downsizing tightens loop junctions, creating a compact weave that supports 16 to 32 ounces of liquid without bottom sagging.
Laying the Flat Circular Foundation
Every reliable crochet cup holder pattern begins at the base. If the circular floor is too small, the cup tilts. If it ruffles, the tumbler wobbles whenever you set it down on a flat surface. Uniformity is the objective.
Start with an adjustable magic ring. Chain one, then work six single crochet stitches directly into the ring loop before pulling the tail tightly shut. In Round 2, execute two single crochets into every stitch around, doubling your count to 12. In Round 3, alternate one single crochet into the first stitch with an increase (two single crochets) into the second stitch, reaching 18 stitches.
Continue this arithmetic progression: Round 4 alternates two single crochets followed by an increase (24 stitches), while Round 5 spaces increases between three single crochets (30 stitches). Pause after each round and place the work against the bottom of your targeted tumbler. Stop increasing when your crochet circle matches the diameter of the base exactly. For standard 16-ounce reusable cups, five rounds totaling 30 to 36 stitches provide a flush perimeter.
To create the vertical hinge that transitions from floor to wall, work the final base round exclusively into the back loops only (BLO). This leaves an exposed front ridge that outlines the structural base and directs the fabric straight up at a 90-degree angle.

Building the Side Walls and Managing Tension
Once the base is set, constructing the walls balances airflow, stretch, and friction. Solid single-crochet walls offer maximum insulation, but open lattice or mesh stitches work faster and save yarn. The open structure also flexes to accommodate tapered vessels.
A classic mesh configuration uses an alternating double crochet and chain-one sequence. Chain four (which counts as your first double crochet plus a chain-one space), skip the next base stitch, and double crochet into the following stitch. Repeat the cycle of chaining one, skipping a stitch, and double crocheting around the entire ring. Slip stitch into the third chain of your starting post to seal the round.
Consistent crochet tension techniques are vital during this phase. Grip the working yarn with uniform resistance across your index finger. If your tension slackens, the diamond openings expand, causing the bottle to slide sideways through the webbing. Work four to six rounds of mesh for a standard reusable coffee cozy, or eight to ten rounds for tall steel vacuum bottles. Finish the top border by working two solid rounds of tight single crochet to secure the upper rim and create solid anchors for your strap.
Constructing the Load-Bearing Handle
Straps are the most common point of failure in handmade drink wear. Beginners often chain 60 stitches, work a single pass of slip stitches, and call it complete. Within three days of carrying a full 750 ml water bottle, that strap stretches thin, digs into shoulders, and frays at the anchor knots.
For a durable wrist strap or cross-body sling, utilize the Romanian cord or a two-row thermal single crochet stitch. Thermal stitches work through the back loop and the unworked loop from the row below simultaneously, doubling the wall thickness and neutralizing longitudinal stretch.
To attach the strap seamlessly without cutting the yarn:
- At the end of your rim round, chain four stitches out from the top edge.
- Turn and work single crochet stitches across that tiny tab.
- Continue working back and forth across those four stitches until the strap reaches your preferred length (typically 10 inches for a wristlet or 42 inches for a cross-body sling).
- Align the free end with the directly opposing wall of your holder, using a tapestry needle to whip-stitch through both layers three times across.
- Weave all tails horizontally and vertically through the dense rim stitches to prevent slippage under heavy loads.
Troubleshooting Common Sizing and Structural Mistakes
Most sizing frustrations trace back to stitch gauge and taper mismatches. Disposable coffee cups and travel mugs are wider at the mouth than at the base. If you crochet a straight cylinder, the cozy tends to ride upward or slide off completely when lifted.
Address this taper during Rounds 3 and 6 of your sidewall. Add two subtle increases across opposing sides of the tube by working two stitches into a single chain space. This creates an outward flared cone that locks onto tapered travel cups securely.
If the carrier base bows outward like a bowl instead of resting flat, your tension is too tight or your round-by-round stitch increases were spaced unevenly. Count your perimeter stitches after every round. Keeping increases staggered prevents the base from turning into a hexagon, ensuring your drinks sit completely stable on tables, desks, and car cup holders.
Frequently Asked Questions (FAQ)
Q1: How long does this project realistically take to finish?
A1: An intermediate crafter can complete a standard 16-ounce tumbler sleeve in 35 to 45 minutes. Beginners working through magic ring adjustments, count checks, and strap anchoring typically require 60 to 75 minutes from start to finish.
Q2: Can I wash a crochet drink carrier in the washing machine?
A2: Yes, provided it is made from 100% cotton. Place the sleeve inside a mesh laundry bag, wash with cold water on a gentle cycle, and lay it flat to dry. Avoid high-heat machine drying, which can shrink cotton fibers and tighten the fit excessively.
Q3: What should I do if my water bottle has a wide rubber boot?
A3: Measure the base diameter with the rubber boot attached before crocheting Round 1. Add one additional increase round to the flat circle base (such as alternating four single crochets and one increase) so the bottom ring matches the outer silicone perimeter without stretching.
Practical Takeaways for Daily Fiber Projects
Crocheting functional gear does not require costly supplies or complex pattern schematics. By pairing dense 100% cotton yarn with tight baseline tension and reinforced straps, a single skein easily transforms into a dependable everyday carry accessory. Whether you want to insulate hot morning coffee, catch condensation on an afternoon iced latte, or keep a heavy canteen secure during weekend walks, this straightforward construction offers a reusable, handmade alternative to wasteful single-use cardboard sleeves.