The Complete Cut-Off Denim Manual: Step-by-Step DIY, Fraying Hacks, and Styling
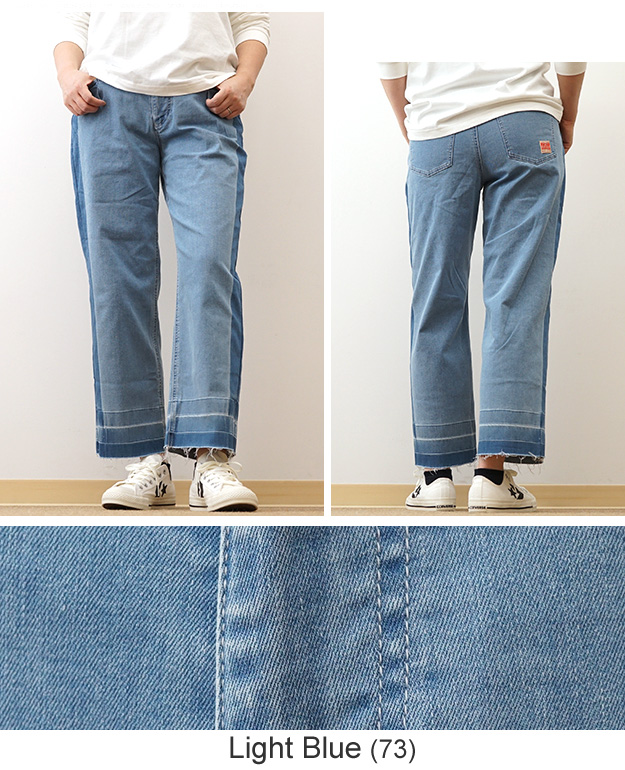
Off-the-rack denim rarely hits the ankle bone where modern footwear demands. While mass-market fast-fashion collections have flooded retail racks with relaxed utility silhouettes, a trend underscored by a recent MSN report highlighting Japanese retail giant GU's heavy push into autumn denim cargo pants and workwear jackets, factory proportions frequently miss individual leg lengths. Taking shears to your own trousers fixes that issue immediately.
The raw hem jeans movement (known in Japan as ジーンズ 裾 切りっぱなし) has evolved from a punk garage-rock improvisation into a calculated tailoring choice. A clean cut-off leg removes bulky, double-folded factory chain stitches, dropping the visual weight of heavy cotton canvas. Achieving that relaxed aesthetic requires methodical measuring, the correct blade geometry, and structural fray control so a casual weekend customization does not unravel into shredded threads past your knees.
📌 Key Takeaways:
- The Cutting Rule: Never cut denim lying flat without checking body posture; natural fabric pull raises hemlines by 0.5 to 0.75 inches once you stand.
- Structural Lock: Running a straight machine stay-stitch 2 to 3 millimeters above the raw line halts creeping unraveling during daily wash cycles.
- Denim Composition: 100% rigid twill frays into clean, horizontal white cross-threads; elastane blends curl and ripple into synthetic cordage.
Why Raw-Edge Denim Outlasts Factory Hems
Double-folded hems on stiff heavy-ounce denim create a rigid cuff that breaks awkwardly across the vamp of a shoe. Traditional alterations run anywhere from $15 to $30 at local tailors, who often use modern lockstitches that lack the puckered rope-fading characteristic of vintage union-special machinery. The DIY cut-off denim approach bypasses this problem entirely by stripping away excess weight and letting the natural twill weave outline your silhouette.
Raw edges alter how fabric interacts with footwear. By clearing the ankle line, cut hems prevent the accordion-style stacking that makes straight and wide-leg trousers feel sloppy. Vintage purists on denim forums often argue that raw cuts compromise fabric integrity. Yet tailor shop data shows that intentional cutting combined with modern edge stabilization provides comparable structural durability while eliminating the abrasive friction wear that regularly blows out folded factory cuffs.
There is also an economic case for cutting your own pants. Secondary-market denim from thrift stores frequently sits on clearance racks because previous owners hemmed them to unusual lengths. Re-cropping these pairs gives neglected archival cotton a second life, converting dated bootcut or baggy silhouettes into modern cropped staples for pennies.
Precision Inseam Measurement and Pre-Cut Geometry
A failed raw hem almost always traces back to one mistake: cutting the jeans while they sit flat on a table. When you wear jeans, your thighs, seat, and hips pull the fabric upward. The leg shrinks in vertical drop the moment you stand up.
Put the pants on with the specific shoes you plan to wear. Stand straight on an uncarpeted, flat surface. Look forward into a full-length mirror rather than bending your neck down, because tilting your torso shortens the front rise and pulls the front cuffs upward. Use tailor's chalk to place a horizontal strike mark at the back of the heel and the front of the instep.
For an ankle crop alteration, target 1 to 1.5 inches above the top of the shoe collar. Remove the jeans and lay them flat on a hard work table, smoothing out the inner thigh seams. Align the outseam and inseam so the fabric sits completely flat without hidden folds. Use an acrylic tailoring ruler to connect your chalk marks. Cut approximately 0.5 inches longer than your target length. You can always trim excess warp threads later, but you can never add cut fabric back.
Essential Tool Selection and Step-by-Step Cutting Protocol
Do not reach for standard household utility scissors. Cheap paper shears pinch denim twill between the blades instead of shearing it cleanly, creating ragged cuts and pinched diagonal runs. Dedicated dressmaking fabric scissors with forged steel blades are mandatory for clean work through 14-ounce cotton.
| Finishing Method | Required Equipment | Structural Longevity | Aesthetic Result |
|---|---|---|---|
| Clean Industrial Sheared | Fabric shears, tailor chalk, clear ruler | High (minimal initial fray) | Sharp, architectural, modernist line |
| Controlled Vintage Distress | Tweezers, 80-grit sandpaper, seam ripper | Moderate (controlled fiber release) | Authentic 1970s sun-bleached rock wash |
| Mechanized Agitation Frayed | Stay-stitch thread, front-load washer | Permanent (locked by perimeter stitch) | Soft, cloud-like white fringe halo |
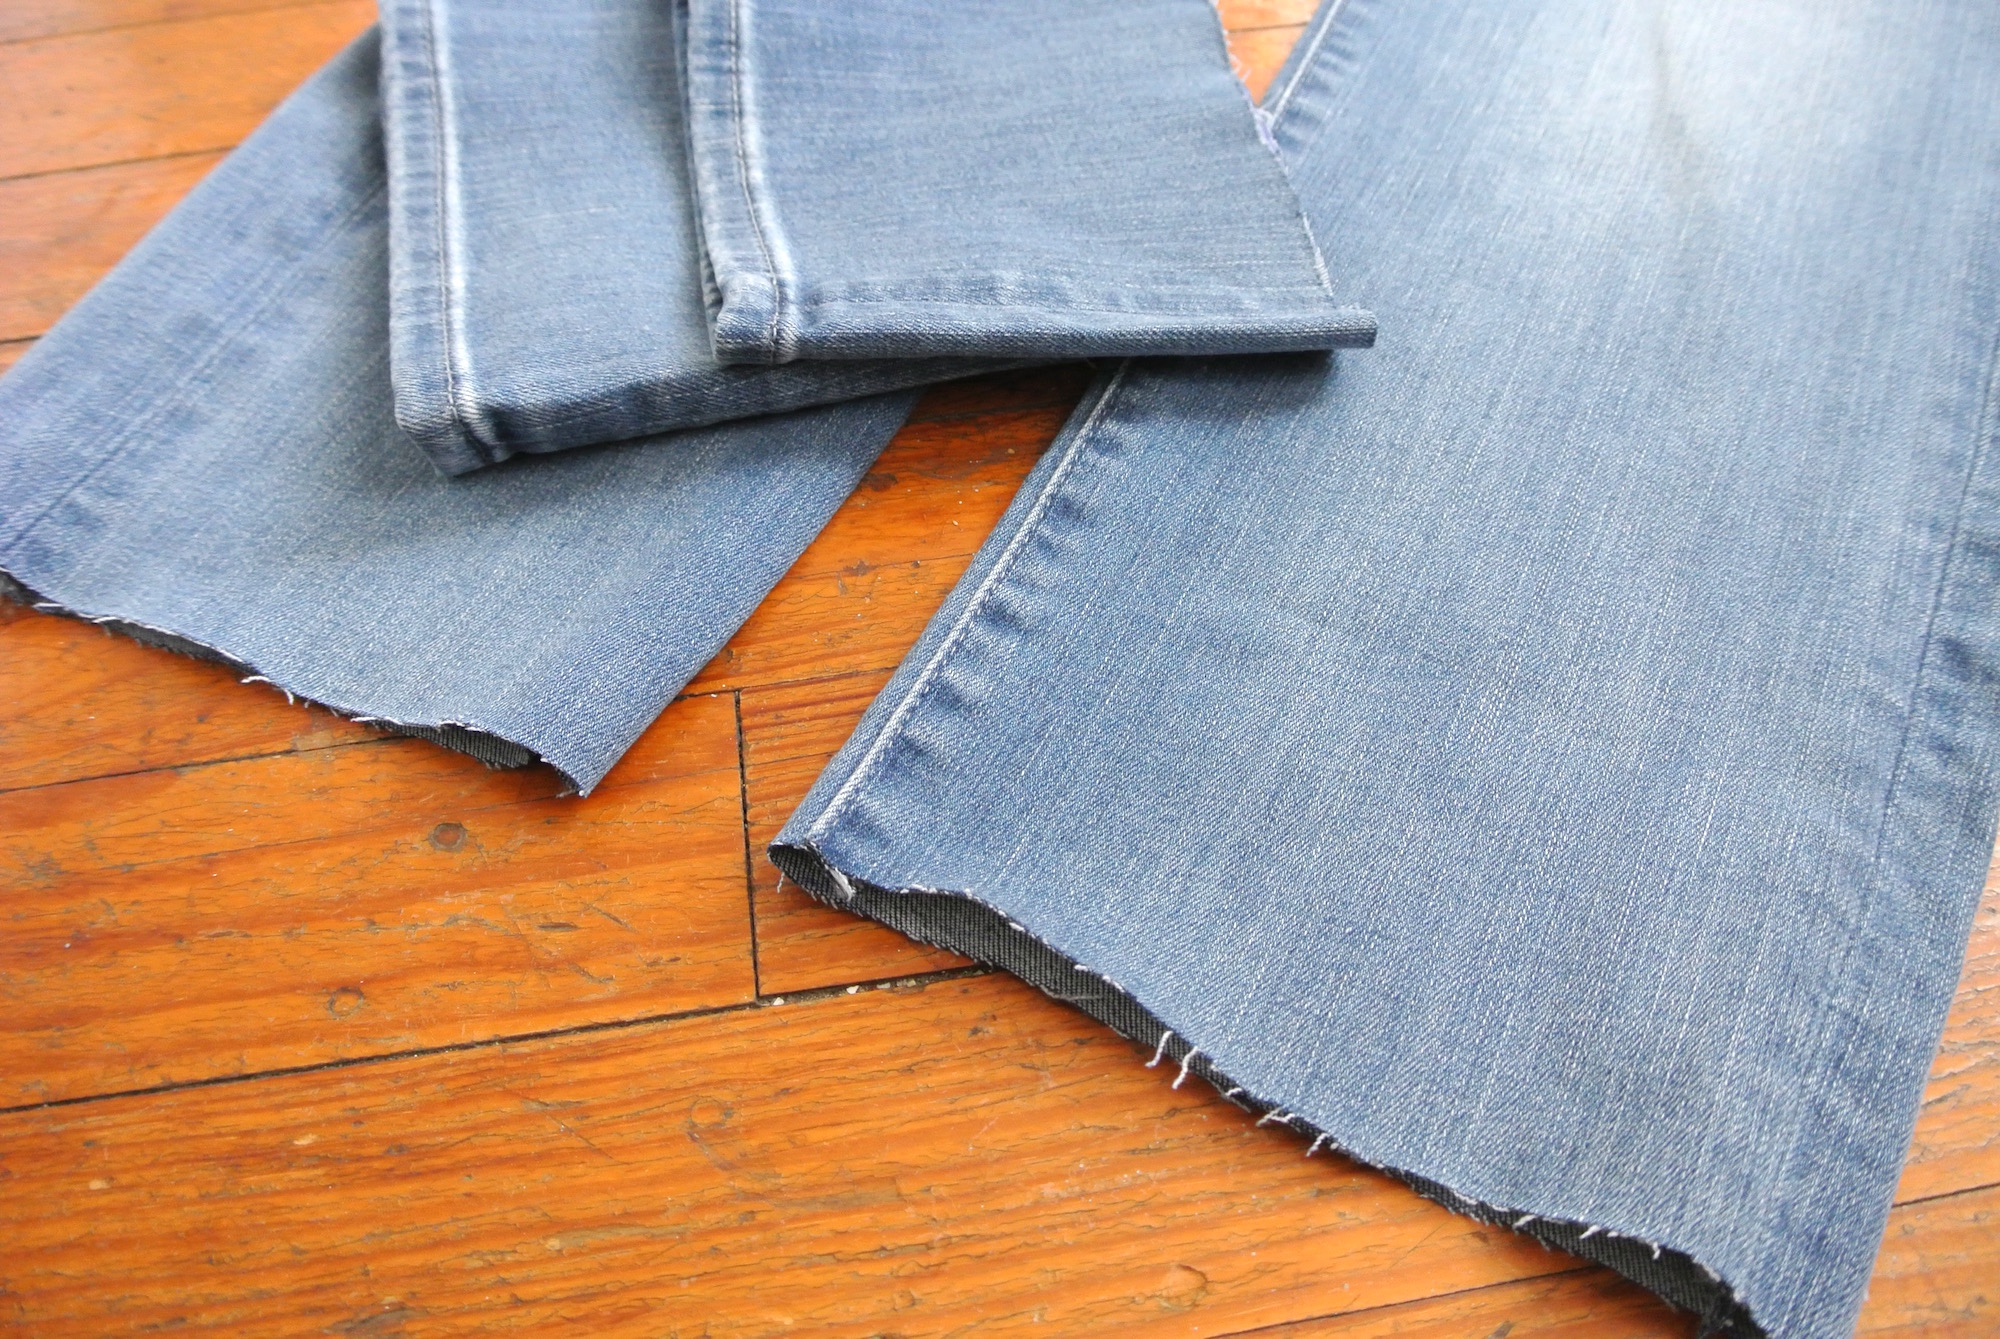
Begin cutting from the outseam toward the inseam. Cut through only one layer of denim at a time. Slicing through both layers at once shifts the bottom fabric layer, skewing the line into an awkward wave. Cut in long, decisive strokes using the center of the scissor blades rather than making small, choppy cuts with the tips. Once the first leg is trimmed, fold the jeans in half along the crotch curve, align the waistbands perfectly, and use the trimmed leg as a template to mark the second side.
Texturing Hacks: From Tweezers to Sandpaper Agitation
A freshly cut raw hem looks stark and unfinished during the first forty-eight hours. To create authentic wear without waiting months for natural abrasion, combine manual extraction with friction tools.
Denim is composed of two yarn directions: the indigo-dyed vertical warp and the un-dyed white horizontal weft. Using tweezer thread pulling, latch onto the vertical blue threads right along the raw edge and gently tug them downward. As you strip away vertical fibers, a fringe of horizontal white yarn drops free. Expose roughly 3 to 5 millimeters of white weft fringe across the circumference of the cuff.
For uneven, broken edges, introduce seam ripper edges along the heavy felled seams. Use the sharp curved crook of a seam ripper to pick open the dense vertical stitching where the fabric joins together. Finish the distressing with an 80-grit sandpaper distress hack: wrap the abrasive sheet around a wooden block and scrub vigorously along the bottom edge at a 45-degree angle. This abrades the stiff cotton fibers, breaking down surface tension so the hem flares naturally instead of standing stiffly like cut cardboard.
Fray Control and Structural Longevity
The biggest risk with custom cut-offs is continuous unraveling. Without reinforcement, everyday movement and wash cycles will cause horizontal fibers to split upward toward the calf, turning a neat crop into ragged threads.
The definitive solution is a stay-stitch hemline. Set a sewing machine to a short stitch length (approximately 2.0 mm). Run a straight stitch around the pant leg, positioned exactly 2 millimeters above your intended fringe depth. Use a thread color that matches the indigo wash for an invisible barrier, or pick a classic golden-copper thread to mimic heritage chain-stitch styling. When the fringe unravels during wear, it hits this structural line and stops dead.
Once you anchor the stay-stitch, throw the jeans into a washing machine fray cycle. Wash the jeans inside out on a cold water setting with a fast spin cycle. The mechanical drum agitation tumbles the exposed yarns, locking them into a tight, textured fringe halo. Skip the heated dryer cycle; high heat shrivels exposed raw edge cotton, causing the bottom hem to curl outward into an unappealing trumpet shape. Lay the trousers flat to air-dry instead.
Silhouette Proportions and Styling Principles
Different denim cuts require distinct raw-hem finishes to balance overall silhouette proportions. What complements a relaxed vintage fit can ruin the balance of a tapered leg.
For wide-leg raw hem styling, maintain full length. Cut the pants so the raw edge hovers just 0.25 inches above the floor when you wear flat-soled sneakers or boots. The frayed line adds motion to the heavy fabric pooling at the base. Wide-leg cuts carry a heavier fabric volume, so keep the fringe minimal to prevent the bottom edge from looking messy and over-distressed.
Conversely, straight-leg cuts need a deliberate ankle crop. The cut edge should clear the lateral malleolus (the outer ankle bone), creating clean visual space between your trousers and low-profile loafers or retro runner sneakers. Tapered jeans demand caution: cutting a narrow leg opening too high creates an abrupt taper that shortens the apparent length of your legs. Leave slim and tapered fits slightly longer, letting the frayed fringe settle softly on the shoe tongue.
Frequently Asked Questions (FAQ)
Q1: What should I do if my raw jeans hem curls outward like a bell after washing?
A: Hem curl happens when tension between the inner warp and outer weft threads shifts during high-heat drying cycles. To flatten it out, dampen the bottom two inches of the jeans with water, place a clean cotton pressing cloth over the hem, and press firmly with an iron set to high steam. Flattening the raw edge while wet resets the cotton memory.
Q2: Can I raw-cut denim containing elastane or stretch fibers?
A: You can, but stretch denim behaves very differently from 100% rigid cotton. Synthetic polyurethane core fibers do not fray into straight white horizontal fringe; instead, they crimp, curl, and turn into wavy plastic-like wisps. If you choose to crop stretch denim, keep the cut razor-clean with sharp shears and apply a stay-stitch immediately to prevent the raw line from stretching out of shape.
Q3: How much fabric length should I leave for post-wash shrinkage?
A: On pre-washed, sanforized retail denim, you will only see nominal shrinkage of about 0.25 inches after a standard wash. However, on raw, unwashed, or shrink-to-fit denim, you must factor in a 5% to 8% vertical shrinkage rate. Always run unwashed raw denim through two full machine wash-and-dry cycles before marking your cut lines.
Mastering Custom Alterations
Cutting your own jeans gives you complete control over your wardrobe proportions. Instead of accepting awkward factory inseams, you can tune your denim directly to your personal height, leg lines, and footwear rotation. Taking a pair of fabric shears to expensive woven twill can feel intimidating, but denim is resilient, forgiving workwear canvas that only looks better with character.
Measure twice while standing straight, secure your edge with a stay-stitch, and control the fringe release through deliberate friction. This simple customization turns neglected, ill-fitting pants into customized pieces tailored to your exact frame.