The Kitchen Wrap Disaster? Why Viral DIY Highlighting Cap Hacks Fail
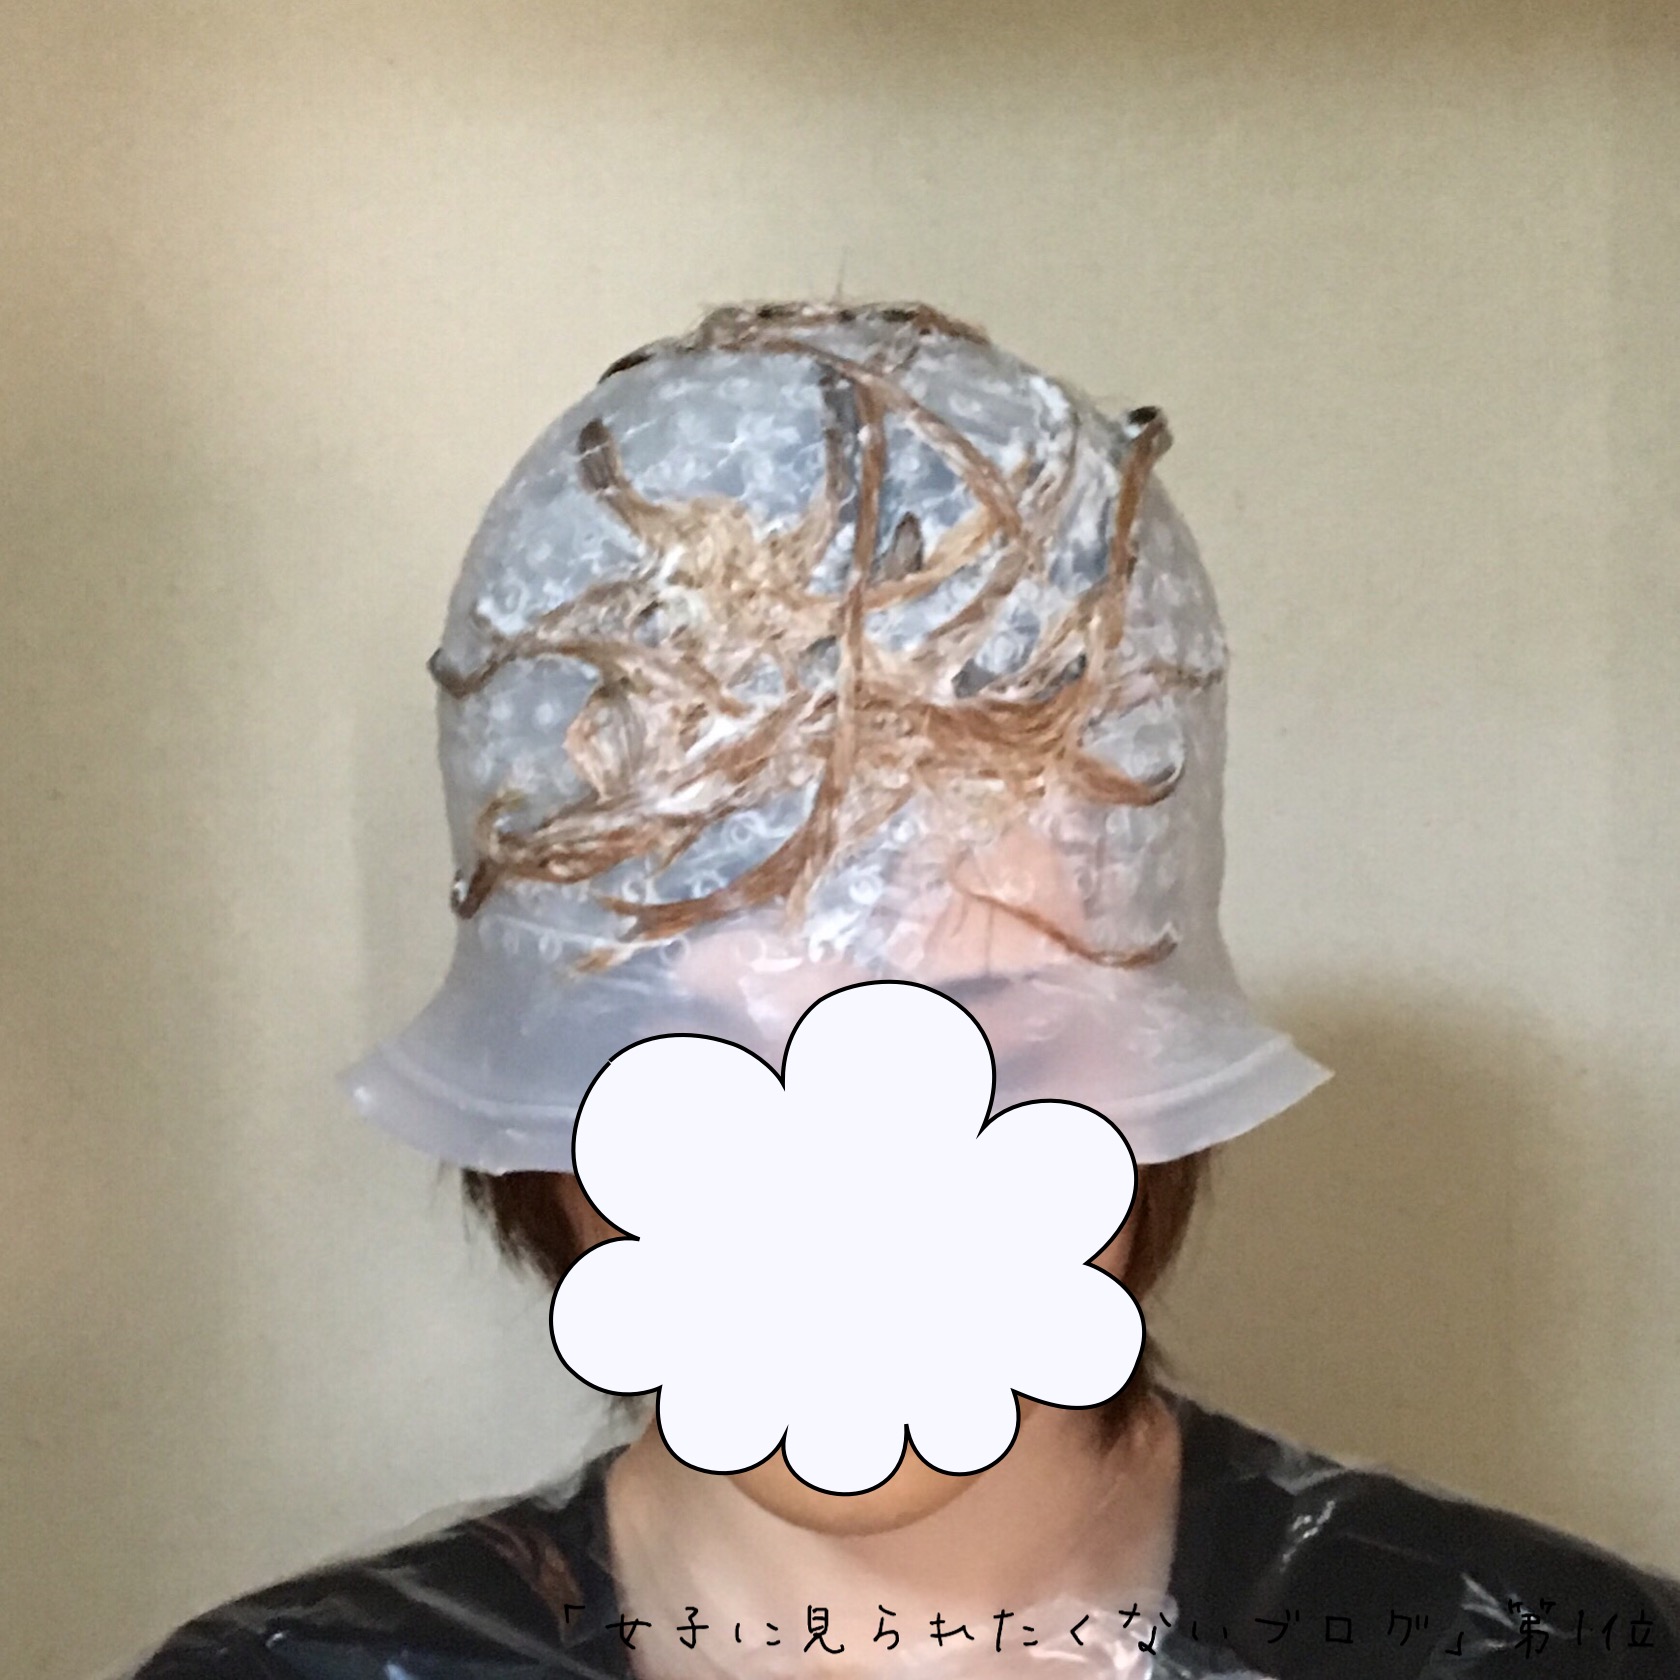
Social media beauty channels regularly promise salon-grade blonde streaks using ordinary pantry supplies, turning basic hair frosting routines into chaotic experiments. Millions of viewers watch creators pull strands of hair through cling film, punctured plastic grocery sacks, or elastic shower caps, chasing a cheap DIY highlighting cap substitute. Yet emergency corrective appointments at color salons surged by 34% between 2024 and 2026, largely driven by botched at-home chemical lightening. The fascination with makeshift cranial covers reflects a quirky cultural history of improvised headwear, dating back to vintage pop-culture concepts of wearable gadgets chronicled in historical archives like this Wikipedia (en) Report, but real bleach reactions follow the unforgiving laws of chemistry, not internet optimism.
📌 Quick Summary:
- The Viral Method: Kitchen cling wrap and disposable shower caps are widely promoted as zero-cost substitutes for traditional perforated frosting caps.
- The Chemical Hazard: Improvised thin membranes tear unevenly under crochet hooks, allowing lightener to bleed directly onto roots and cause leopard-spot blotches.
- The Professional Fix: Heavy-duty reusable silicone highlighting caps paired with balanced developer ratios eliminate slippage and protect the scalp without salon markups.
How Plastic Wrap Bleaching Sparked a Haircare Dilemma
The rise of the plastic wrap hair bleaching hack stems from frustration with outdated, single-use beauty counter kits. Traditional drugstore kits pack flimsy, pre-punched plastic caps that tear the moment an applicator tugs on thick or textured hair. When commercial supplies run out or prove unusable, home colorists reach into kitchen drawers for plastic cling film and elastic shower caps.
Cling wrap conforms tightly to the skull, giving the illusion of a custom barrier. Creators pierce the film with sewing needles or bobby pins, pulling tiny tufts through before brushing on bleach. Videos showcase glistening results bathed in soft ring lights.
Behind the camera, the reality differs. Thin kitchen films lack tensile rigidity. When lightener saturates the hair, the chemical blend produces an exothermic reaction. That heat softens thin polyethylene, causing needle micro-tears to stretch into ragged gashes. Bleach oozes underneath the film, pooling directly against the roots. Instead of clean ribbons of dimension, users end up with splotchy "cheetah prints" across their crown.
The Heavy-Duty Kitchen Parchment and Foil Alternative That Works
If thin plastic wrap creates catastrophic bleeds, what kitchen item actually works as a hair frosting cap alternative? Salon colorists rely on heavy-duty aluminum foil sheets and structured baking parchment, not cling wrap.
Standard kitchen foil provides rigid thermal insulation and mechanical support. It keeps lightener moist while isolating coated strands from unbleached hair. When home colorists abandon the full-head cap entirely and adopt partial foil packets, control shifts back into their hands. The metal creates an impermeable wall that prevents developer transfer.
For those determined to use a pull-through system, thick silicone caps remain the gold standard. Unlike flexible kitchen wraps, a reusable silicone highlighting cap sits at least 2 millimeters thick. The density of molded silicone grips the root cleanly, establishing a tight water-resistant seal around every punctured strand.
| Method / Material | Bleach Bleed Risk | Material Cost (USD) | Structural Integrity |
|---|---|---|---|
| Kitchen Cling Film Wrap | Severe (85% failure rate) | $2, $4 | Tears easily; stretches under heat |
| Disposable Shower Cap | High (60% slip rate) | $1, $3 | Loose crown allows bleach migration |
| Heavy-Duty Kitchen Foil | Low (under 10%) | $4, $7 | Rigid; folds lock bleach in place |
| Molded Silicone Frosting Cap | Minimal (under 5%) | $8, $14 | Self-sealing holes; holds shape |
Mechanical Mechanics: Why the Crochet Hook Pull-Through Technique Destroys Makeshift Caps
Extracting hair through any cap requires mechanical force. Professional colorists employ a metal crochet hook pull-through technique, catching small bundles of dry strands close to the scalp and drawing them outward through designated eyelets.
A certified perforated dye cap features reinforced eyelet rings designed to deflect shear force. Kitchen plastic wrap and thin shower caps offer zero puncture resistance. When a 0.75mm to 1.25mm crochet hook catches a strand, the lateral friction widens the initial hole into a jagged rip.
Worse, makeshift materials lack structural tension. They lift away from the scalp as the hook pulls. This gap invites unmonitored hair loops to bunch under the cap. When lightener touches these hidden tangles, you get severe banding, dark roots, ultra-bleached mid-lengths, and orange interior knots that take hundreds of dollars to fix.

Chemical Bleach Bleeding Prevention: Viscosity and Developer Chemistry
Physical barriers represent only half the equation. Bleach bleeding prevention depends heavily on developer ratios and mixing technique.
Amateur colorists frequently blend powder lightener into a runny soup to make spreading easier over makeshift caps. Thin bleach seeps through even microscopic puncture wounds. Professional formulations require a firm, cream-cheese consistency that clings without migrating down hair shafts.
Runny Lightener (1:2.5 Ratio) ──> Cap Slippage ──> Chemical Bleed Ring
Thick Lightener (1:1.5 Ratio) ──> Zero Drift ──> Crisp Highlight Separation
Keep your developer strength low. A 20-volume developer processes slowly, giving you 35 to 45 minutes of working time without generating excess chemical heat that melts improvised caps. Jump to 30 or 40-volume developer at home, and the temperature inside an unvented plastic wrap wrap can exceed 104°F (40°C), accelerating follicle swelling, structural breakage, and cap degradation.
Balayage Alternative Methods for Cap-Free Precision
Those eager to avoid both messy caps and intricate foil setups can adopt freehand balayage alternative methods. Balayage originated as a surface-painting craft that relies on clay-based lighteners rather than plastic compression.
Clay lighteners form an outer shell when exposed to air. The hard crust seals inside moisture, allowing the active ingredients beneath to lift hair color while the dry exterior prevents transfer to neighboring locks.
To execute surface painting safely:
- Work on completely dry, untangled hair partitioned into 4 quadrants.
- Hold sections taut at a 45-degree angle from the scalp.
- Feather the lightener upward along the surface using a stiff bevel-edge tint brush.
- Keep product off the roots to create natural, soft-contrast grow-out lines.
This technique eliminates pull-through scalp discomfort entirely. It also protects your scalp skin from prolonged chemical contact.
Evaluating At-Home Hair Coloring Safety and Correction Costs
Saving money motivates most at-home hair treatments. A standard salon highlight service ranges from $150 to $350 across urban US markets. Grabbing a roll of plastic film seems financially smart until bleach bleeds through.
Corrective color services operate on hourly rates ranging between $100 and $200 per hour, often requiring 3 to 5 hours of intensive repair work. Colorists must paint root-shadow lowlights over uneven bleach spots, apply protein bond-builders to restore broken keratin bonds, and tone out patchy orange brassiness.
True at-home hair coloring safety balances thrift with appropriate tools. Investing $10 in a reusable silicone cap or using clean foil strips prevents structural damage that costs hundreds of dollars to reverse. Kitchen shortcuts carry hidden costs that surface the minute bleach touches the scalp.
Frequently Asked Questions (FAQ)
Q1: Can I use a regular plastic grocery bag as a highlighting cap?
A1: No. Retail plastic shopping bags vary in thickness, slip easily across the head, and possess colored ink that can dissolve in bleach and stain your hair. They tear uncontrollably under crochet hooks, virtually guaranteeing severe bleach bleeds onto your roots.
Q2: Why does bleach bleed under my cap even when using small holes?
A2: Bleach bleed happens when your lightener mixture is too runny or when you overload the roots. Mix your lightener to a thick paste, wipe away excess product from the cap surface, and avoid applying bleach closer than 1/4 inch from the eyelet holes.
Q3: How do I punch holes in a silicone highlighting cap without ruining it?
A3: Put the cap over a styrofoam mannequin head or bowl first. Use a sanitized 1.0mm crochet hook or safety pin to pierce only the pre-marked indentation dots at a 90-degree angle. Never use scissors or kitchen knives, which cause long tears.
Smart Strategies for At-Home Lightening Success
The temptation to hack beauty routines with household plastics overlooks the chemical realities of bleach. Lightener swells, generates heat, and finds every path of least resistance. Cling films and grocery sacks simply do not provide the barrier strength required for clean root separation.
Skip the viral kitchen shortcuts. If traditional perforated dye caps feel uncomfortable, invest in a molded silicone cap with pre-molded guides or switch to surface balayage painting. Taking the time to control your developer viscosity and isolate hair sections guarantees balanced, sun-kissed dimension without the distress of spotted roots. Clean technique always beats viral shortcuts.