Failed the Beginner Gel Nail Exam? Ultimate Retest Playbook and Mistake Checklist
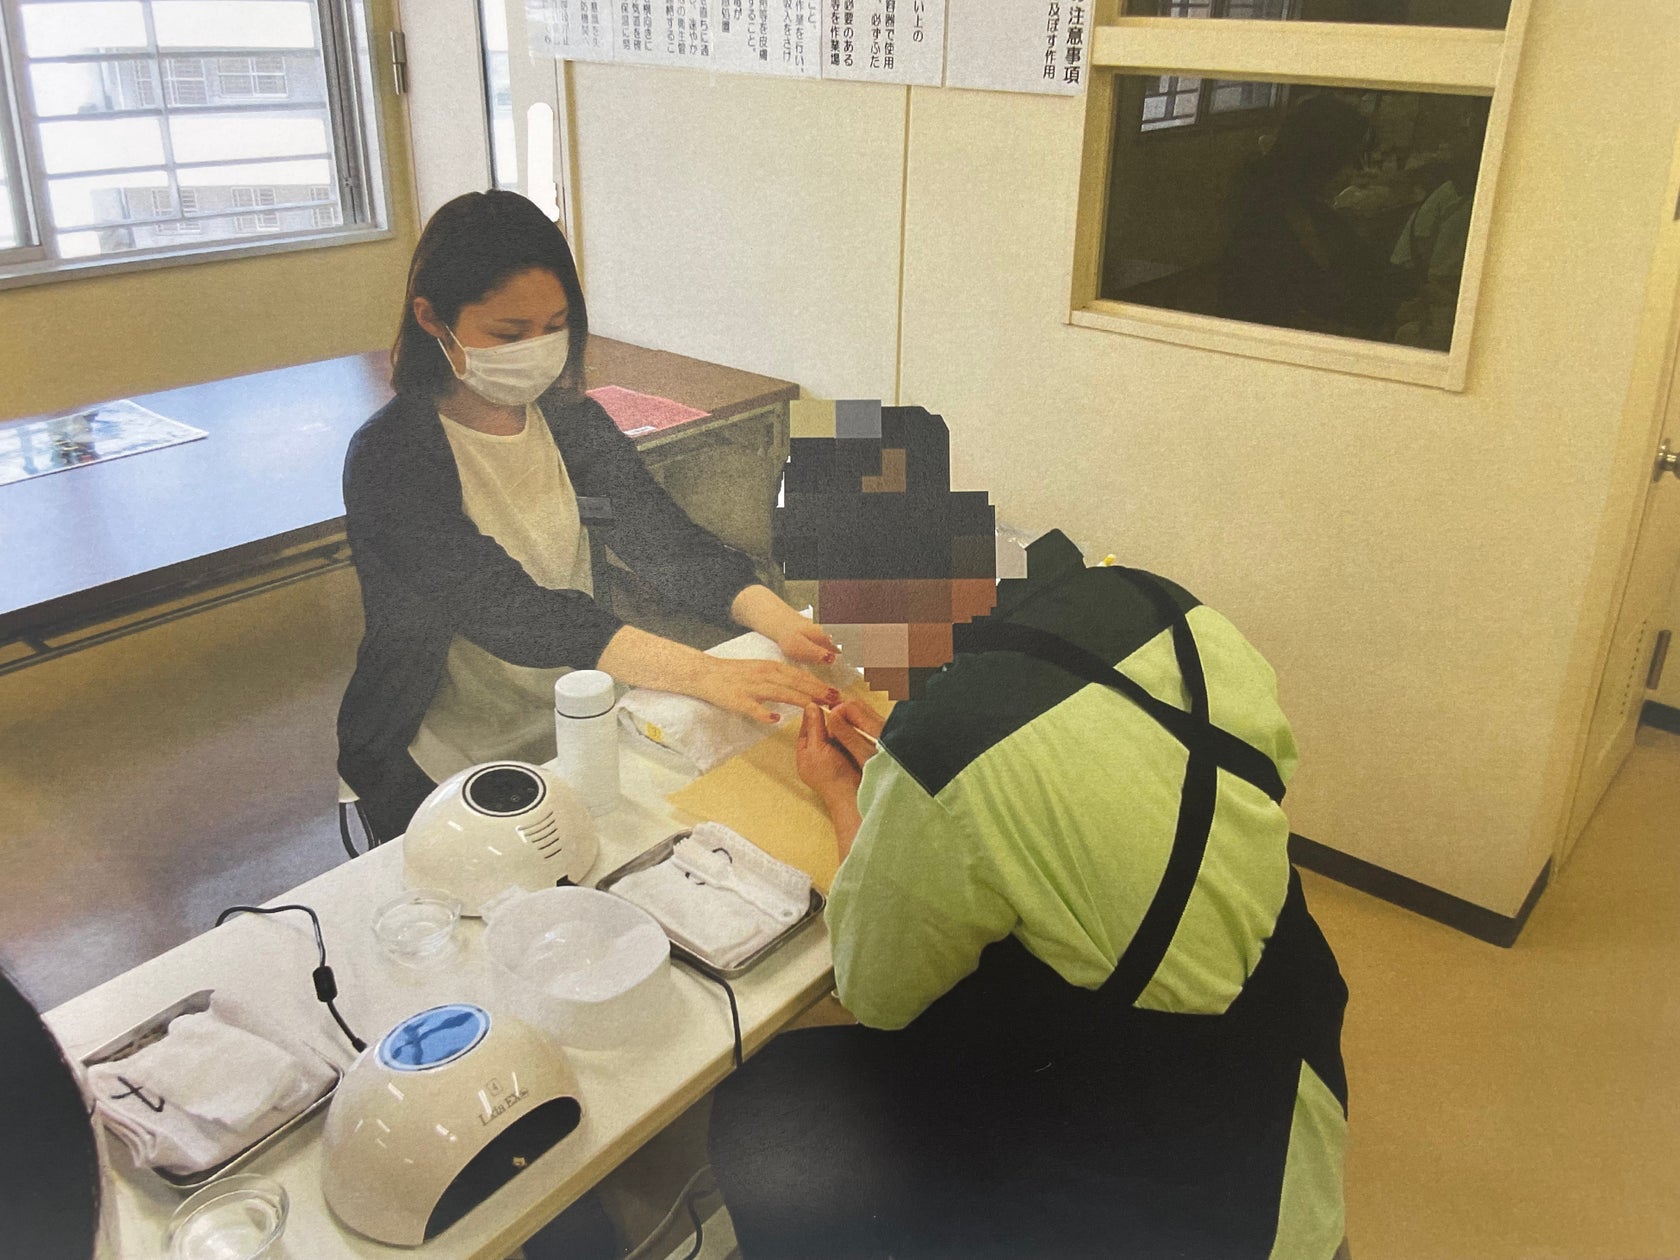
When the Japan Nailist Association (JNA) posts the official results for the Gel Nail Examination (初級 - Beginner Level), thousands of aspiring nail technicians encounter an unexpected reality check: a failure notice. While popular culture often frames beginner beauty credentials as trivial stepping stones, exemplified when Japanese comedian Lily from the comedy duo Mitorizu drew national television attention on TV Asahi by dedicating three months of intensive training to clear the exam, the reality inside the testing hall is unsparing. Official testing standards maintain rigorous gatekeeping. Even institutional outreach programs backed by the JNA, such as vocational rehabilitation initiatives at the Kitsuregawa Social Rehabilitation Center detailed in an official PR TIMES Report, require strict adherence to standard technical rubrics under executive guidance led by figures like JNA Director Sachiko Nakasone.
A failing mark on the beginner level is rarely a sign of lacking artistic talent. It is almost always the result of procedural violations, boundary infractions, or overlooked sanitary mandates. The examination does not evaluate avant-garde creativity; it assesses workplace hygiene, chemical discipline, and mechanical consistency across standard practical modules.
📌 Quick Summary:
- The Direct Cause: Most beginner test failures stem from automatic disqualification triggers, including gel flooding the eponychium or breaking sterile tray boundaries, rather than minor aesthetic imbalances.
- The Technical Bar: Clearing the examination requires an aggregate score of 80 out of 100 points on the practical exam alongside an 80% written test passing score covering nail pathology, hygiene statutes, and chemical structures.
- The Remediation Path: Systematic recalibration of curing times, brush angles, table organization, and live model cuticle preparation converts failed attempts into reliable passes during the subsequent testing cycle.
The Anatomy of an Examination Failure
The JNA Gel Nail Examination beginner practical exam scoring relies on a structured point-deduction system that begins at a baseline of 100 points. Candidates must maintain at least 80 points to pass. While minor aesthetic flaws like slight unevenness in the peacock design will cost one to three points, procedural failures carry catastrophic deductions that drop an applicant below the threshold in seconds.
Proctors walk the testing floor with standardized deduction clipboards. They evaluate candidates during two discrete stages: the preliminary inspection and the practical performance. During the preliminary inspection, proctors inspect the candidate’s station setup, personal attire, and the model's bare nails. Bringing a model whose cuticles show pre-existing damage, filing traces from recent artificial nail removals, or polish residue triggers immediate point deductions before the timer even begins.
The second stage evaluates technical execution across two practical parts. Part One focuses on nail care, including basic sanitization, filing to a uniform round shape, and wet cuticle prep and care. Part Two measures application skills: standard red polish on one hand, and base gel, red gel polish application, a peacock nail art technique on a designated finger, and a non-wipe or wiped top coat on the other hand. A mistake in product choice or step sequencing immediately cascades through the scoring sheet.
The Five Disqualification Traps That Sink Candidates
Understanding why candidates fail requires auditing the official disqualification criteria. Proctors do not negotiate. Certain errors result in an immediate zero, rendering the rest of the practical performance irrelevant.
| Infraction Category | Specific Error Observed | Scoring Impact |
|---|---|---|
| Boundary Contamination | Gel skin contact disqualification (cured gel touching the proximal fold or lateral sidewalls) | Automatic Failure / Immediate Disqualification |
| Sanitary Violation | Dropping an implement and returning it to the tray without ethanol disinfection | Severe Deduction (, 10 to, 20 Points) |
| Chemical Chemistry | Curing time mistakes (under-curing pigmented red, leading to surface wrinkling or lifting) | Finish Defect Deduction (, 5 to, 10 Points) |
| Art Execution | Peacock feather lines blurred, uneven drag depth, or incomplete color contrast | Design Deduction (, 3 to, 5 Points) |
| Station Management | Table setup regulations breached (missing clear labels, unsterilized waste bag placement) | Setup Violation (, 5 Points per incident) |
The most prevalent issue is gel skin contact disqualification. Candidates often attempt to apply red gel too close to the cuticle line in an effort to present a seamless look. Red pigment is unforgiving. If uncured gel touches the eponychium and goes into the UV/LED lamp, it polymerizes directly against human tissue. Proctors run fine tools or magnifiers along the perimeter. If cured resin bridges the gap between keratin and skin, the candidate fails automatically due to the biological risks of contact dermatitis.
Sanitary management rules form another critical testing axis. Dropping an emery board, picking it up, and continuing to shape the free edge without wiping it with an ethanol-soaked pad triggers an instant sanction. Candidates must verbally acknowledge the contamination, place the dropped tool into a designated dirty implement tray, or thoroughly sterilize it before proceeding.
Mastering the Red Gel Polish and Peacock Technique
Red gel polish application exposes flaws in hand stabilization, pressure control, and product volume. Beginner candidates often load too much product on a flat square brush, resulting in pooling along the lateral grooves. The correct method demands two razor-thin coats rather than one heavy layer. The first coat sets the boundary perimeter, stopping precisely 0.5 to 1.0 millimeters away from the proximal skin fold. The second coat builds opacity and evens out light reflection.
The peacock nail art technique trips up technicians who rush their cure cycles. Executing a crisp peacock pattern requires applying a clear gel or white gel bed, laying precise horizontal bands of contrasting color, and dragging a liner brush or needle vertically through the wet layers before curing.
Common execution failures occur when the underlying gel is too fluid, causing the lines to bleed together into a muddy gradient. Conversely, using a gel with excessively high viscosity creates ridges that remain bumpy after top-coat application. A passing peacock requires sharp line definition, symmetrical feathering, and a completely smooth, level surface under the final gloss layer.

Sanitary Setup and Table Discipline
A surprising percentage of students fail the JNA beginner exam before performing any nail service. Japanese examination bodies treat table setup regulations as a direct reflection of clinical discipline.
Your workstation must be divided into distinct functional zones. The right-hand side (or left-hand side for left-handed technicians) holds the primary tray containing sanitized steel implements: cuticle nippers, pushers, tweezers, and clean files. Every single bottle, jar, and spray container must carry legible Japanese or standardized English labeling indicating its contents, such as "Ethanol," "Cuticle Remover," and "Base Gel." Unlabeled bottles trigger automatic point loss.
+--------------------------------------------------------------+
+--------------------------------------------------------------+
+--------------------------------------------------------------+
Implement trays must utilize clean gauze moistened with ethanol at the base to prevent metal implements from contacting the tray surface directly. Waste receptacles must be taped securely to the table edge, opened and accessible without requiring hands to pry them open during the service. Touching an unsterilized surface and returning directly to the model's hand without spraying your own hands with ethanol drops your sanitary management score below passing parameters.
A Structured Retest Preparation Checklist
Recovering from a failing score requires diagnosing where points were lost, adjusting technical habits, and executing timed mock trials. Approaching the next exam session requires a disciplined, four-phase retest preparation checklist.
Phase 1: Diagnostic Assessment (Weeks 1 to 2)
Review your performance honestly. If you ran out of time, your procedural order is broken. If your red polish wrinkled, your curing lamp wattage or exposure duration was misaligned with the gel manufacturer's specifications. Check the manufacturer's recommended cure times: 30 seconds under LED (405nm) or 60 seconds under UV (365nm). Under-curing leaves uncured monomers trapped beneath a hardened surface skin, creating micro-bubbles that proctors identify during final inspection.
Phase 2: Mechanical Drilling (Weeks 3 to 4)
Practice on a training hand daily, focusing strictly on brush control. Practice pushing the brush belly down to fan the bristles out, forming a clean curved line at the cuticle margin without letting pigment overflow the lateral walls. Practice the wet cuticle prep and care sequence until the transition between the water bath, metal pusher, and cuticle nipper becomes muscle memory. Time every sub-segment:
- Sanitization and filing: 10 minutes
- Cuticle care: 20 minutes
- Gel application and peacock design: 30 minutes
- Final check and surface wipe: 5 minutes
Phase 3: Model Curation and Nail Conditioning (Weeks 5 to 6)
Your choice of hand model dictates your baseline difficulty. Select a model with wide, healthy nail beds and resilient cuticles. Models with severe hyperkeratosis, chewed periungual tissue, or irregular nail architecture introduce unpredictable hurdles on exam day. In the four weeks leading up to the test, bring your model in for weekly non-filing hydration treatments to ensure the eponychium is pliable and free of tearing or inflammation.
Phase 4: Full-Scale Dress Rehearsals (Final 2 Weeks)
Conduct at least three full-length mock examinations under strict testing conditions. Set a timer. Wear the appropriate attire: hair tied back securely, white lab jacket or neat dark clothing depending on test specifications, sterile surgical mask, and no jewelry on the hands or wrists. Do not pause the timer to adjust tools. If you drop a file, practice the exact recovery protocol: discard it into the waste area, disinfect your hands, extract a fresh, pre-sanitized file from your backup stock, and proceed.
Preparing for the Written Test Component
While the practical exam claims the majority of practice hours, the written exam operates as an independent filter. A candidate who scores 100 on practical execution but receives a 78% on the written portion fails the certification.
The written test passing score sits at 80%. The questions are pulled directly from the official JNA textbook, covering four mandatory areas:
- Anatomy and physiology of the natural nail plate, matrix, and nail bed.
- Hygiene and sanitation management under Japanese public health guidelines.
- Polymer chemistry basics: photoinitiators, oligomers, monomers, and the cross-linking mechanisms triggered by UV/LED light.
- Nail disorders, contraindications, and situations requiring medical referral rather than cosmetic application.
Dedicate 30 minutes per day to rote memorization of technical terminology, especially Latin nail anatomy roots and Japanese health statutes. Flashcards and mock test apps provide the repetition needed to guarantee a score above 90%, eliminating written-test anxiety on exam day.
Frequently Asked Questions (FAQ)
Q1: If I failed only the practical exam, do I have to retake the written test as well?
A1: Under JNA examination regulations, if you pass the written exam but fail the practical test, you can apply for an exemption from the written test in the immediately following examination cycle. However, this exemption is time-limited. If you do not pass the practical test within that exemption window, you must sit for both sections again.
Q2: Why did my red gel polish wrinkle during the exam even though it looked smooth before curing?
A2: Wrinkling occurs when the top layer of gel polymerizes faster than the bottom layer, usually caused by applying the layer too thick or using a curing lamp with degraded LED diodes. Red pigments contain high concentrations of iron oxides that block light penetration. Apply two ultra-sheer coats instead of one thick coat, and verify that your lamp emits the exact nanometer wavelength specified by your gel brand.
Q3: Can I bring an electric e-file to speed up cuticle prep and surface etching?
A3: No. Electric files are strictly prohibited in the JNA Beginner Gel Nail Examination. All nail shaping, cuticle lifting, and prep work must be performed manually using an emery board, a metal cuticle pusher, cuticle nippers, and manual buffering blocks. Bringing or using unauthorized electrical equipment results in immediate disqualification.
The Technical Blueprint for Your Next Attempt
Failing the beginner examination is an operational error, not a verdict on your future as a nail professional. The JNA testing system is engineered to prioritize consumer safety, sterile technique, and mechanical precision over creative flair. Technicians who approach the retest as an engineering problem, systematically isolating chemical cure times, sanitizing boundaries, stabilizing brush control, and adhering to strict table setup regulations, routinely convert their previous loss into a confident pass. Reset your workstation, time your sequences down to the second, and approach your next testing cycle with uncompromising procedural discipline.