Floor Map and Spatial Breakdown: Navigating West Exhibition Halls 1 Through 4
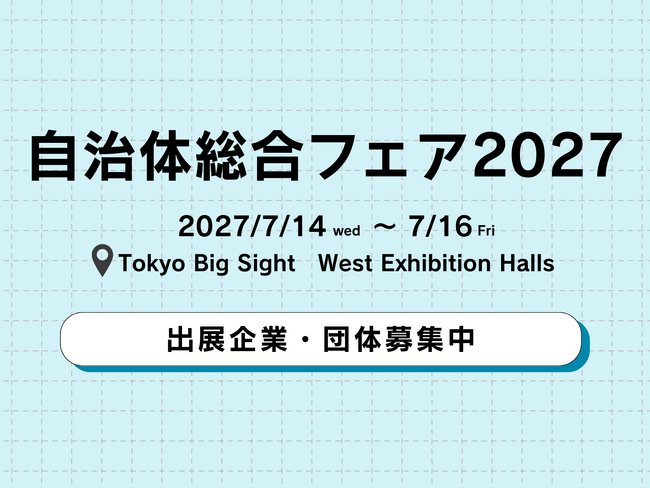
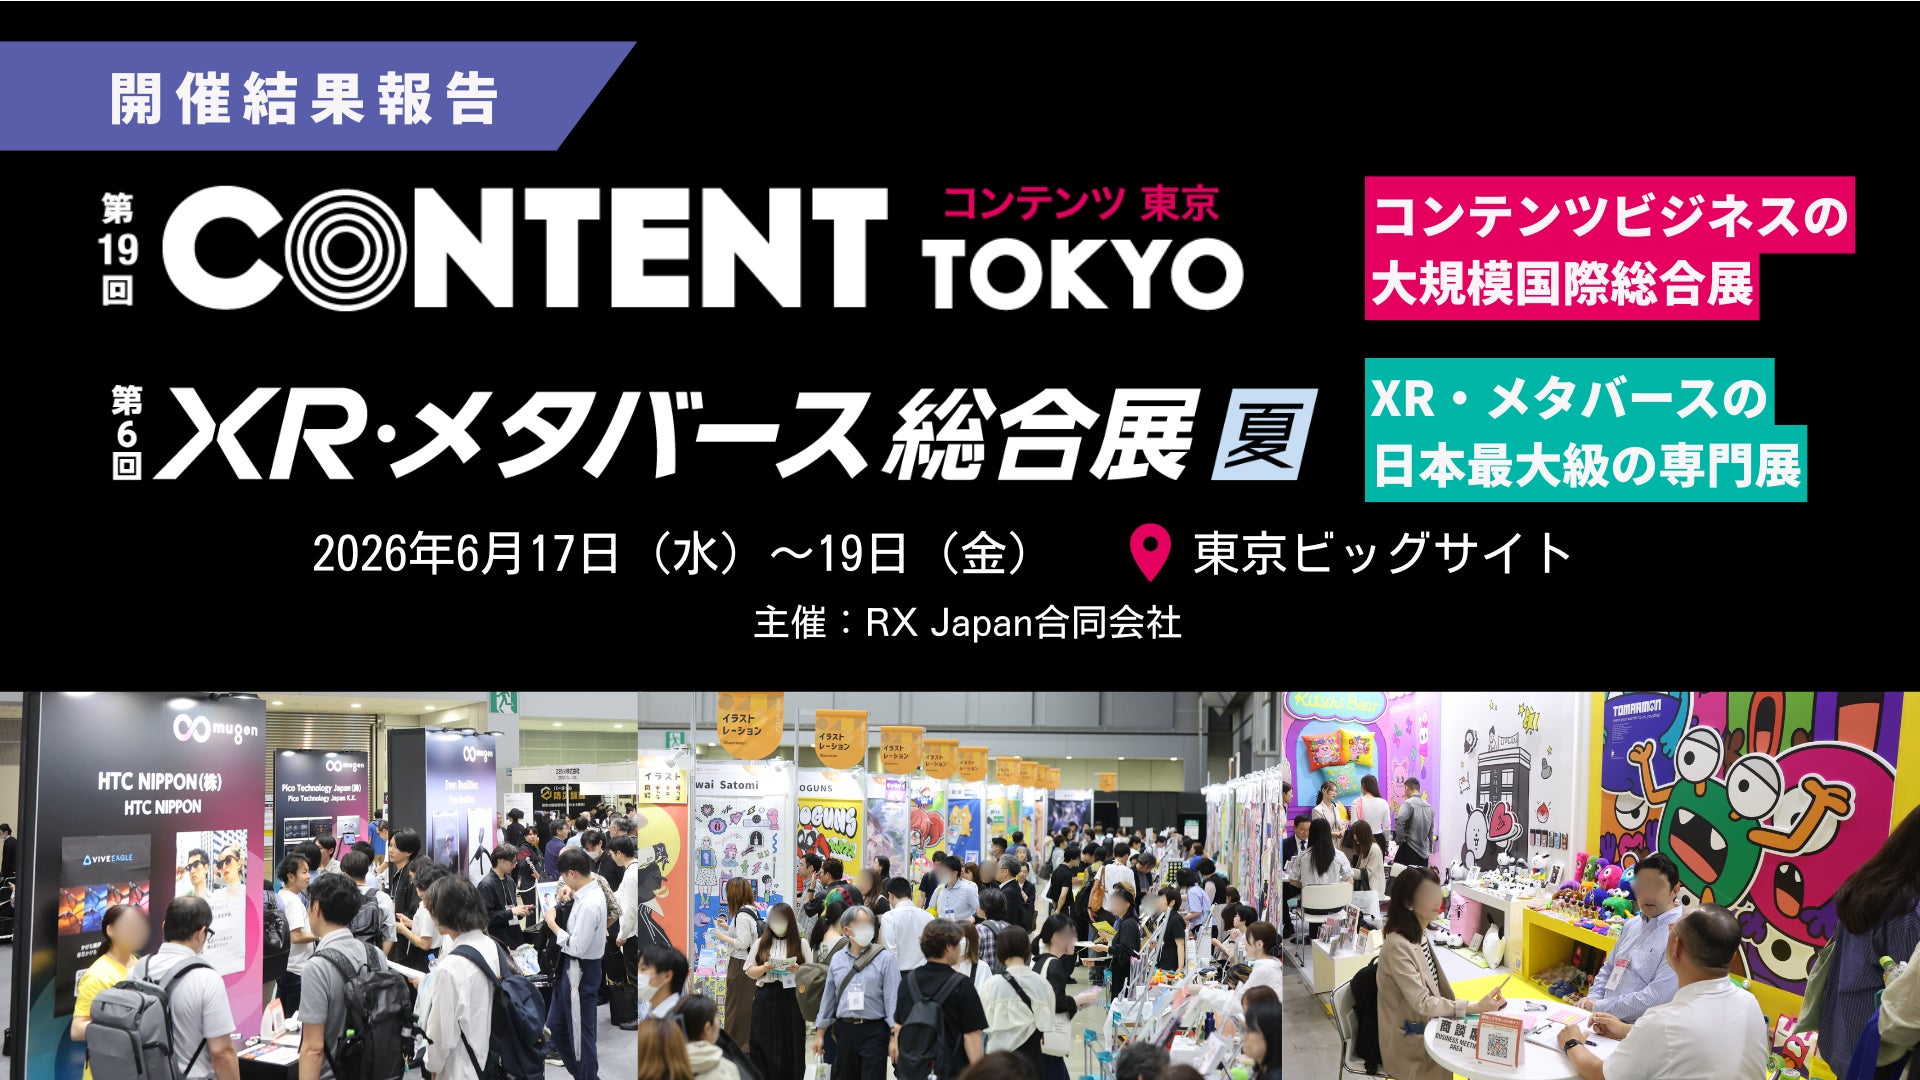
Tokyo Big Sight West Exhibition Hall remains one of Asia’s most demanding commercial spaces to navigate. Between major industrial gatherings like the massive food tech showcase FOOMA JAPAN 2026 and RX Japan's packed Content Tokyo trade fair, hundreds of thousands of domestic and foreign visitors converge on this Ariake waterfront complex. The venue's busy calendar continues to push capacity, with municipal procurement bodies already locking in booth space for next year's Local Government Fair, according to a recent 紀伊民報AGARA Report.
Yet despite its familiar stepped silhouette, the venue disorients newcomers within minutes. The building conceals a vertical split: halls sit stacked directly on top of each other rather than spread across a single flat plane. Stepping off the main concourse places you into a multi-layered atrium that requires precise spatial awareness, whether you are tracking down an elusive niche supplier or attempting to clear security with heavy exhibition freight.
📌 Key Takeaways:
- Vertical Separation: West Hall 1 and 2 sit on the 1F ground level, while West Hall 3 and 4 occupy 4F, separated by a soaring central atrium.
- Rooftop Expansion: The 4F rooftop exhibition area serves as an open-air display zone directly accessible from the upper hall concourse.
- Inter-Hall Transfers: The South Hall connecting bridge on the upper concourse allows direct passage between buildings without dropping back down to street level.
- Transit Efficiency: Tokyo Big Sight Station on the Yurikamome line drops visitors within a 3-minute covered walk, while Kokusai-Tenjijo Station requires an 8-minute outdoor trek.
Spatial Architecture: The Two-Tier Layout of West Exhibition Hall
The core layout of Tokyo Big Sight West Exhibition Hall confuses visitors because it does not follow standard horizontal convention. Instead of sprawling along a single floor plate, the four primary halls are arranged in two vertical tiers linked by the Central Atrium exhibition zone.
When entering from the central plaza beneath the iconic inverted glass pyramids of the Conference Tower, you arrive on the 2F pedestrian concourse. From this elevated platform, you must go down to access West Hall 1 and 2 ground level spaces, or take express escalators up to reach West Hall 3 and 4 upper floor spaces. Looking out across the atrium floor from the 2F balcony reveals temporary showcase booths, high-speed badge-scanning gates, and constant foot traffic moving between halls.
Understanding this layout saves thousands of wasted steps. The Tokyo Big Sight floor map shows that West 1 and West 2 mirror each other across the atrium floor, while West 3 and 4 mirror each other upstairs. Missing an escalator means walking the entire length of the building twice, an exhausting mistake when carrying show catalogs and promotional bags.
West Hall 1 and 2: Ground-Level Logistics and High-Capacity Events
West Hall 1 and West Hall 2 provide 17,760 square meters of combined exhibition space on the first floor. These two halls feature direct slab-on-grade construction, providing the structural capacity required for heavy machinery and continuous vehicle traffic. When the Japan Food Machinery Manufacturers' Association arranged the FOOMA JAPAN venue layout, they utilized West 1 and 2 specifically to support multi-ton robotic packaging lines and operational industrial ovens.
Ceiling heights here reach 11 meters, allowing elaborate double-decker exhibition booth navigation systems and custom hanging signage trusses. Moveable partition walls allow organizers to run West 1 and 2 as a single cavernous hall or isolate them for competing industry events. During large marketing events, such as the summer Marketing Week run by CINC Co., Ltd. and allied media agencies, the center atrium between West 1 and 2 functions as the main visitor registration lobby, funneling attendees cleanly through optical turnstiles.
West Hall 3, 4, and the Open Rooftop Exhibition Zone
Escalators from the main concourse ascend straight past the second floor to the fourth level, bypassing third-floor administrative offices. West Hall 3 and West Hall 4 sit up here, delivering 9,680 square meters of upper-tier display real estate. Ceiling clearances remain generous at 10.5 meters, but structural floor load limits are lower than on the ground level, favoring lighter displays, consumer goods, and digital media booths.
This upper zone is where events like the All Japan Model & Hobby Show set up. Organized by the Japan Plastic Model Industry Cooperative, the showcase brought more than 80 scale-model, RC, and miniature car manufacturers to Halls 3 and 4. The modular layout allows dense booth configurations without losing clear sightlines to emergency exits.
Directly flanking West 3 and 4 lies the outdoor rooftop exhibition area. Spanning over 6,000 square meters of treated concrete overlooking Tokyo Bay, this open deck hosts special displays that cannot fit indoors. Event planners use the rooftop for utility truck showcases, outdoor food truck courts, and live demonstration areas for construction tech, all under open coastal skies.
Structural Specifications and Operational Capabilities
Choosing between the ground and upper levels requires reviewing ceiling clearance, maximum floor loading, and outdoor integration. The data below outlines structural tolerances across the entire West complex.
| Hall Designation | Floor Level | Floor Area (m²) | Ceiling Height (m) | Floor Load Limit |
|---|---|---|---|---|
| West Hall 1 | 1F Ground | 8,880 | 11.0 | 5.0 tons / m² |
| West Hall 2 | 1F Ground | 8,880 | 11.0 | 5.0 tons / m² |
| West Hall 3 | 4F Upper | 4,840 | 10.5 | 2.0 tons / m² |
| West Hall 4 | 4F Upper | 4,840 | 10.5 | 2.0 tons / m² |
| Central Atrium | 1F Ground | 2,000 | 28.0 (Vault) | 2.0 tons / m² |
| Rooftop Deck | 4F Open | 6,000 | Open Air | 1.5 tons / m² |
Transit Connections and Pedestrian Flow
Getting into the West Hall depends heavily on which train line carries you into the Ariake district. The Tokyo Big Sight Station access route via the Yurikamome automated monorail offers the shortest walking distance. Passengers exit onto an elevated deck that connects straight into the main gate plaza, sheltered from rain.
The Kokusai-Tenjijo Station transit route on the underground Rinkai Line handles much higher passenger volumes. Riders arriving from Shinjuku, Shibuya, or Osaki face an 8-minute walk across an open pedestrian promenade. Morning bottlenecks peak between 9:15 AM and 9:45 AM, right before trade hall doors open. Pro tip: aim for the western-most turnstiles at Kokusai-Tenjijo to bypass the crush headed toward the East Exhibition Building.
Moving between exhibition buildings is straightforward once inside. The South Hall connecting bridge links the 2F concourse of West Hall to the elevated entrance of the newer South Exhibition Hall. This indoor skybridge eliminates the need to exit ticket gates, pass bag inspections, or battle bad weather when crossing between simultaneous industry events.
Amenities: Coin Lockers, Food Courts, and Rest Areas
Luggage and catering logistics can make or break a trade show visit. The largest coin locker locations sit on the 1F Atrium level, tucked behind the central escalators, with secondary banks near the 2F entrance gates. Lockers take 100-yen coins as well as transit IC cards like Suica and Pasmo, costing between ¥400 and ¥800 per cycle depending on suitcase dimensions. These lockers consistently fill to capacity by 10:30 AM during major public events.
Dining options inside West Hall lean toward speed. A cafeteria and quick-service coffee shops operate on the 2F concourse overlooking the atrium floor, though lines easily stretch past 40 people by midday. To skip the rush, walk through the South Hall connecting bridge to South Hall's wider dining lounge, or grab boxed lunches at the 1F convenience stores before heading into your booth duty.
Backstage Operations: Freight Elevators and Docks
Exhibitor move-in day reveals an entirely different side of the facility. Visitor loading docks and freight elevators ring the outer perimeter of the ground floor. Semi-trailers and flatbeds access West 1 and 2 directly through roll-up industrial blast doors measuring 6.0 meters high by 5.5 meters wide, pulling straight onto the floor during set-up days.
Supplying West 3 and 4 requires more coordination. Heavy cargo moves via four dedicated freight elevators tucked behind the back-of-house service corridors. Each elevator holds up to 5.0 tons, large enough to carry display walls, pallet jacks, and dismantled demonstration kiosks. Traffic control marshals enforce strict time slots for service trucks in the holding yards along Ariake Bay, keeping delivery vehicle congestion from backing up into neighborhood streets.
Frequently Asked Questions (FAQ)
Q1: What is the fastest way to move between West Hall 1 and West Hall 3?
A1: Take the central express escalators located inside the Central Atrium exhibition zone. They rise directly from the 1F floor plate to the 4F concourse, bypassing 2F and 3F administrative levels entirely.
Q2: Can I walk from West Hall to East Hall without going outside?
A2: Yes. Use the covered 2F central concourse past the Conference Tower pyramids. The elevated moving walkway spans roughly 200 meters, taking around 4 to 5 minutes to reach the East Hall central galleria.
Q3: What should I do if all West Hall coin lockers are full?
A3: Head across the connector bridge to the South Exhibition Hall 1F concourse, or walk to the lower concourse inside the Conference Tower. Both spots contain additional coin locker banks that fill up much slower than the main West Hall atrium lockers.
Mastering the West Exhibition Hall in 2026
Handling Tokyo Big Sight West Exhibition Hall comes down to mastering its vertical layout. Once you view the complex as two distinct levels connected by the central glass core, navigating between multi-track conferences and floor-wide exhibitions becomes second nature. Arrive early through the Yurikamome gate, drop your bags before the atrium banks fill up, and use the elevated South Hall bridge whenever cross-facility transfers appear on your schedule.