No-Pattern Miracle: How Beginners Sew Chic Adult Dresses in Under Two Hours
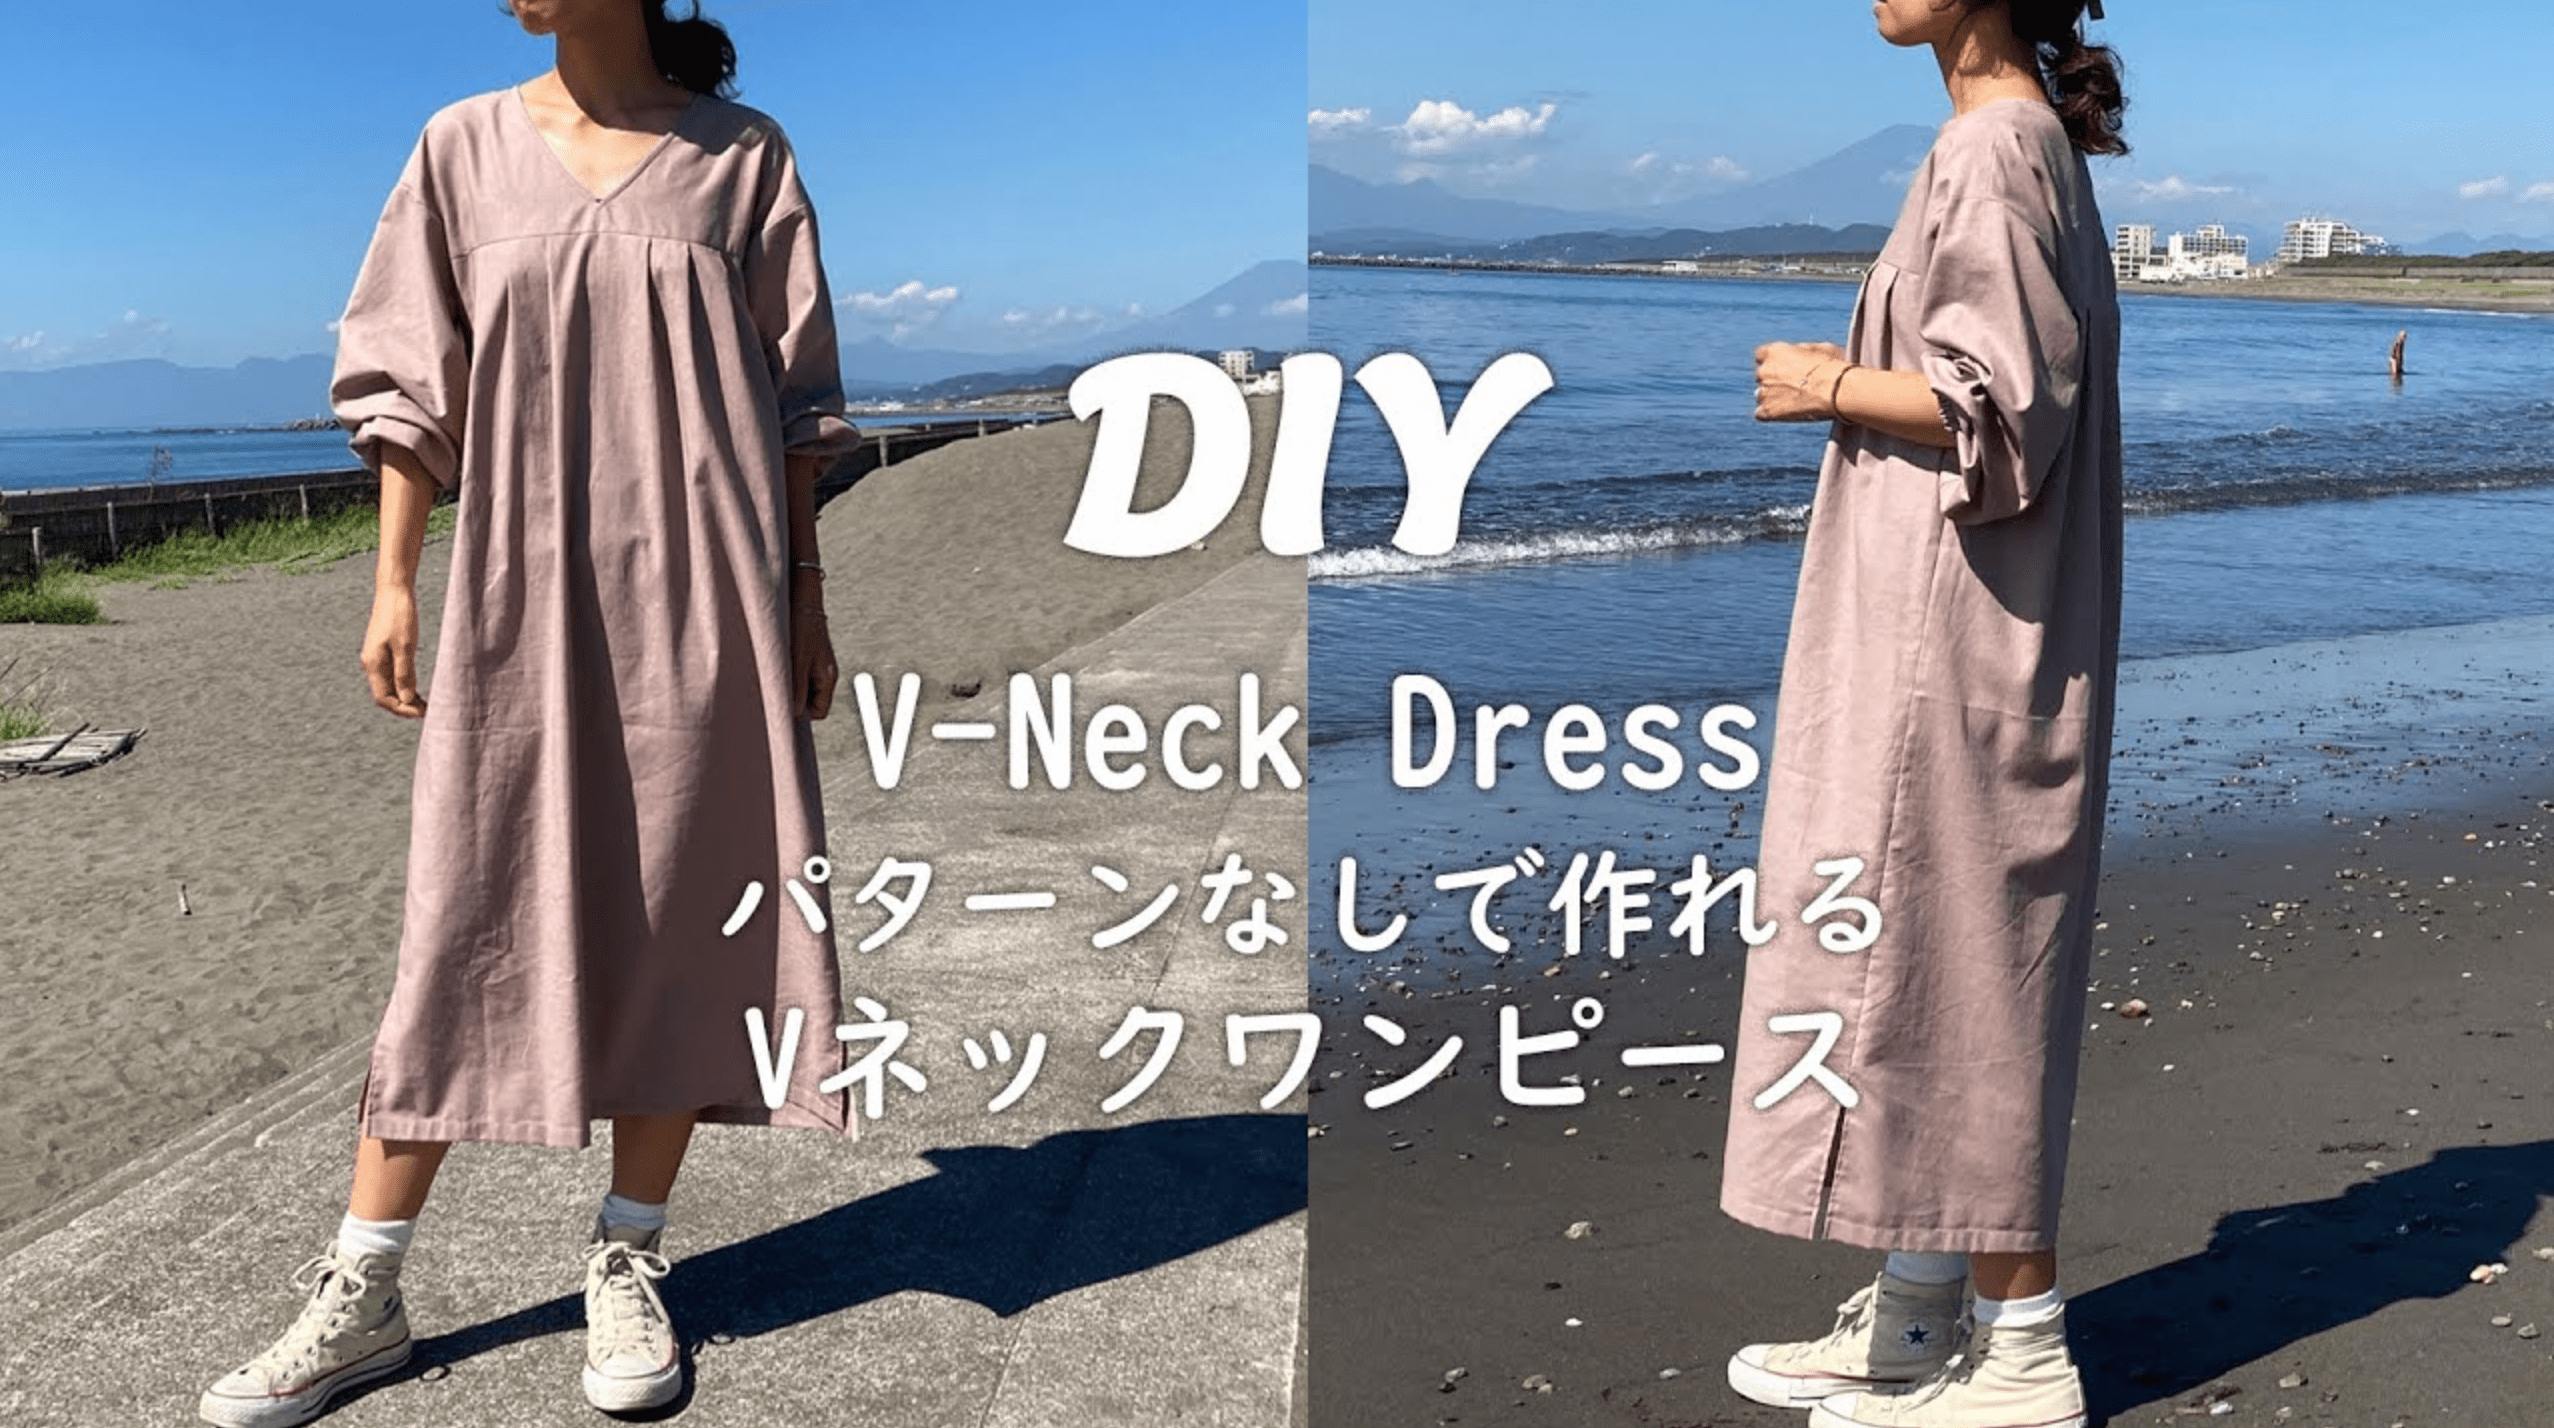
Commercial sewing patterns have spent decades alienating the very people they were meant to serve. Unfolding a flimsy sheet of tissue paper covered in multi-sized dashed lines, baffling bust-ease charts, and arcane technical jargon feels less like a creative craft and more like assembling flat-pack furniture without an instruction manual. By the time a newcomer deciphers the difference between a staystitch and a directional stay, the afternoon is gone and the fabric remains unwashed on the dining table.
A quiet rebellion against this over-engineered complexity has gathered serious momentum across the maker community. Inspired by Japanese minimalist garment books and zero-waste studio drafting, home sewists are ditching paper templates altogether. By treating fabric as structural geometry and using their own favorite clothing as dimensional baselines, complete novices are cutting, stitching, and wearing finished garments in a single afternoon.
📌 Key Takeaways:
- The Direct Drafting Method: Box-cut and body-referenced drafting eliminates tissue patterns entirely, cutting garment construction time down to 90, 120 minutes.
- The Geometry Over Tailoring Formula: Wide boatnecks, dropped shoulders, and gentle A-line silhouettes completely remove the need for complex zips, button plackets, and contoured bust darts.
- The Economic Spread: Constructing an everyday linen dress DIY costs between $28 and $42 in mid-weight flax fabric, compared to retail sustainable labels charging $180, $260 for identical silhouettes.
The Backlash Against Cryptic Commercial Dress Patterns
Standard retail patterns produced by the legacy Big Four pattern houses rely on sizing matrices drafted in the late 1960s. A sewist who wears an off-the-rack medium in ready-to-wear garments often discovers they measure as a size 16 or 18 on a commercial pattern envelope, requiring complex multi-point grading across the bust, waist, and hips before a single blade touches cloth. That structural mismatch drives a staggering abandonment rate among adults attempting their first garment.
Community surveys conducted on online apparel forums show that over 64% of first-time dressmakers give up on their initial build during the pattern tracing and muslin fitting stages. The friction rarely stems from the sewing machine itself; modern entry-level machines handle basic straight stitching with dependable accuracy. The failure point is almost exclusively the gap between static paper drafting and living human bodies.
The patternless alternative strips away the abstractions. Instead of converting three-dimensional anatomy into a two-dimensional grid of complex curves, makers cut directly onto folded textiles using basic geometric proportions. The approach borrows heavily from traditional Japanese smock design and utilitarian European workwear, prioritizing loose drape, clean lines, and kinetic ease over rigid, skin-tight tailoring.
Blueprint of the No-Pattern Box Cut
Creating an easy adult shift dress without commercial blueprints starts with an everyday t-shirt that already fits comfortably across the shoulders and chest. Lay the washed, ironed yardage flat on a cutting mat or kitchen table, folded selvage-to-selvage. Place the benchmark shirt over the fabric fold, smoothing out wrinkles along the collar and side seams.
Rather than tracing the exact outline of the shirt, you use its silhouette as a dimensional anchor. For an adult shift with generous mobility, chalk a boundary line roughly 2 to 3 inches wider than the t-shirt’s side seams, angling outward from the armpit down toward the fabric hem to form a subtle, flattering A-line dress DIY shape. Extend the hemline down to your preferred measurement, typically 38 to 44 inches from shoulder to hem for a classic midi length.
This layout generates a front and back torso piece in one pass. The neck hole receives a shallow scoop: 1.5 inches deep at the back, and 3 inches deep at the front. By keeping the neck opening wide, roughly 10 to 11 inches across, the finished garment slips smoothly over the head without a single fastener. This is how to sew a dress without a zipper: by exploiting proportion rather than mechanical hardware.
Fabric Metrics, Drape Performance, and Cost Benchmarks
Selecting appropriate textiles determines whether a patternless shift hangs like an architectural linen tunic or inflates like an unflattering paper sack. Light-to-medium weight woven fibers provide the crisp stability beginners need under the presser foot, resisting the slipping and stretching notorious with synthetic jerseys or flimsy viscose.
Calculating the correct fabric yardage for adult dress construction requires simple math: double your desired shoulder-to-hem length, add 12 inches for hem allowances, neck bindings, and optional patch pockets. For a standard 42-inch adult dress, 2.5 yards of 54-inch-wide yardage provides ample clearance for sizes small through 2XL.
| Fabric Selection | Fabric Yardage (54" Width) | Beginner Difficulty | Average Material Cost |
|---|---|---|---|
| 100% Washed European Linen (185 GSM) | 2.25, 2.5 yards | Very Low (Stable, presses crisp) | $36, $48 |
| Cotton-Linen Slub Blend | 2.25, 2.5 yards | Very Low (Forgiving texture) | $22, $30 |
| Double Gauze Cotton | 2.5, 2.75 yards | Moderate (Spongy weave, loose stretch) | $28, $38 |
| Rayon / Viscose Crepe | 2.5, 3.0 yards | High (Slips, pulls off-grain easily) | $20, $32 |
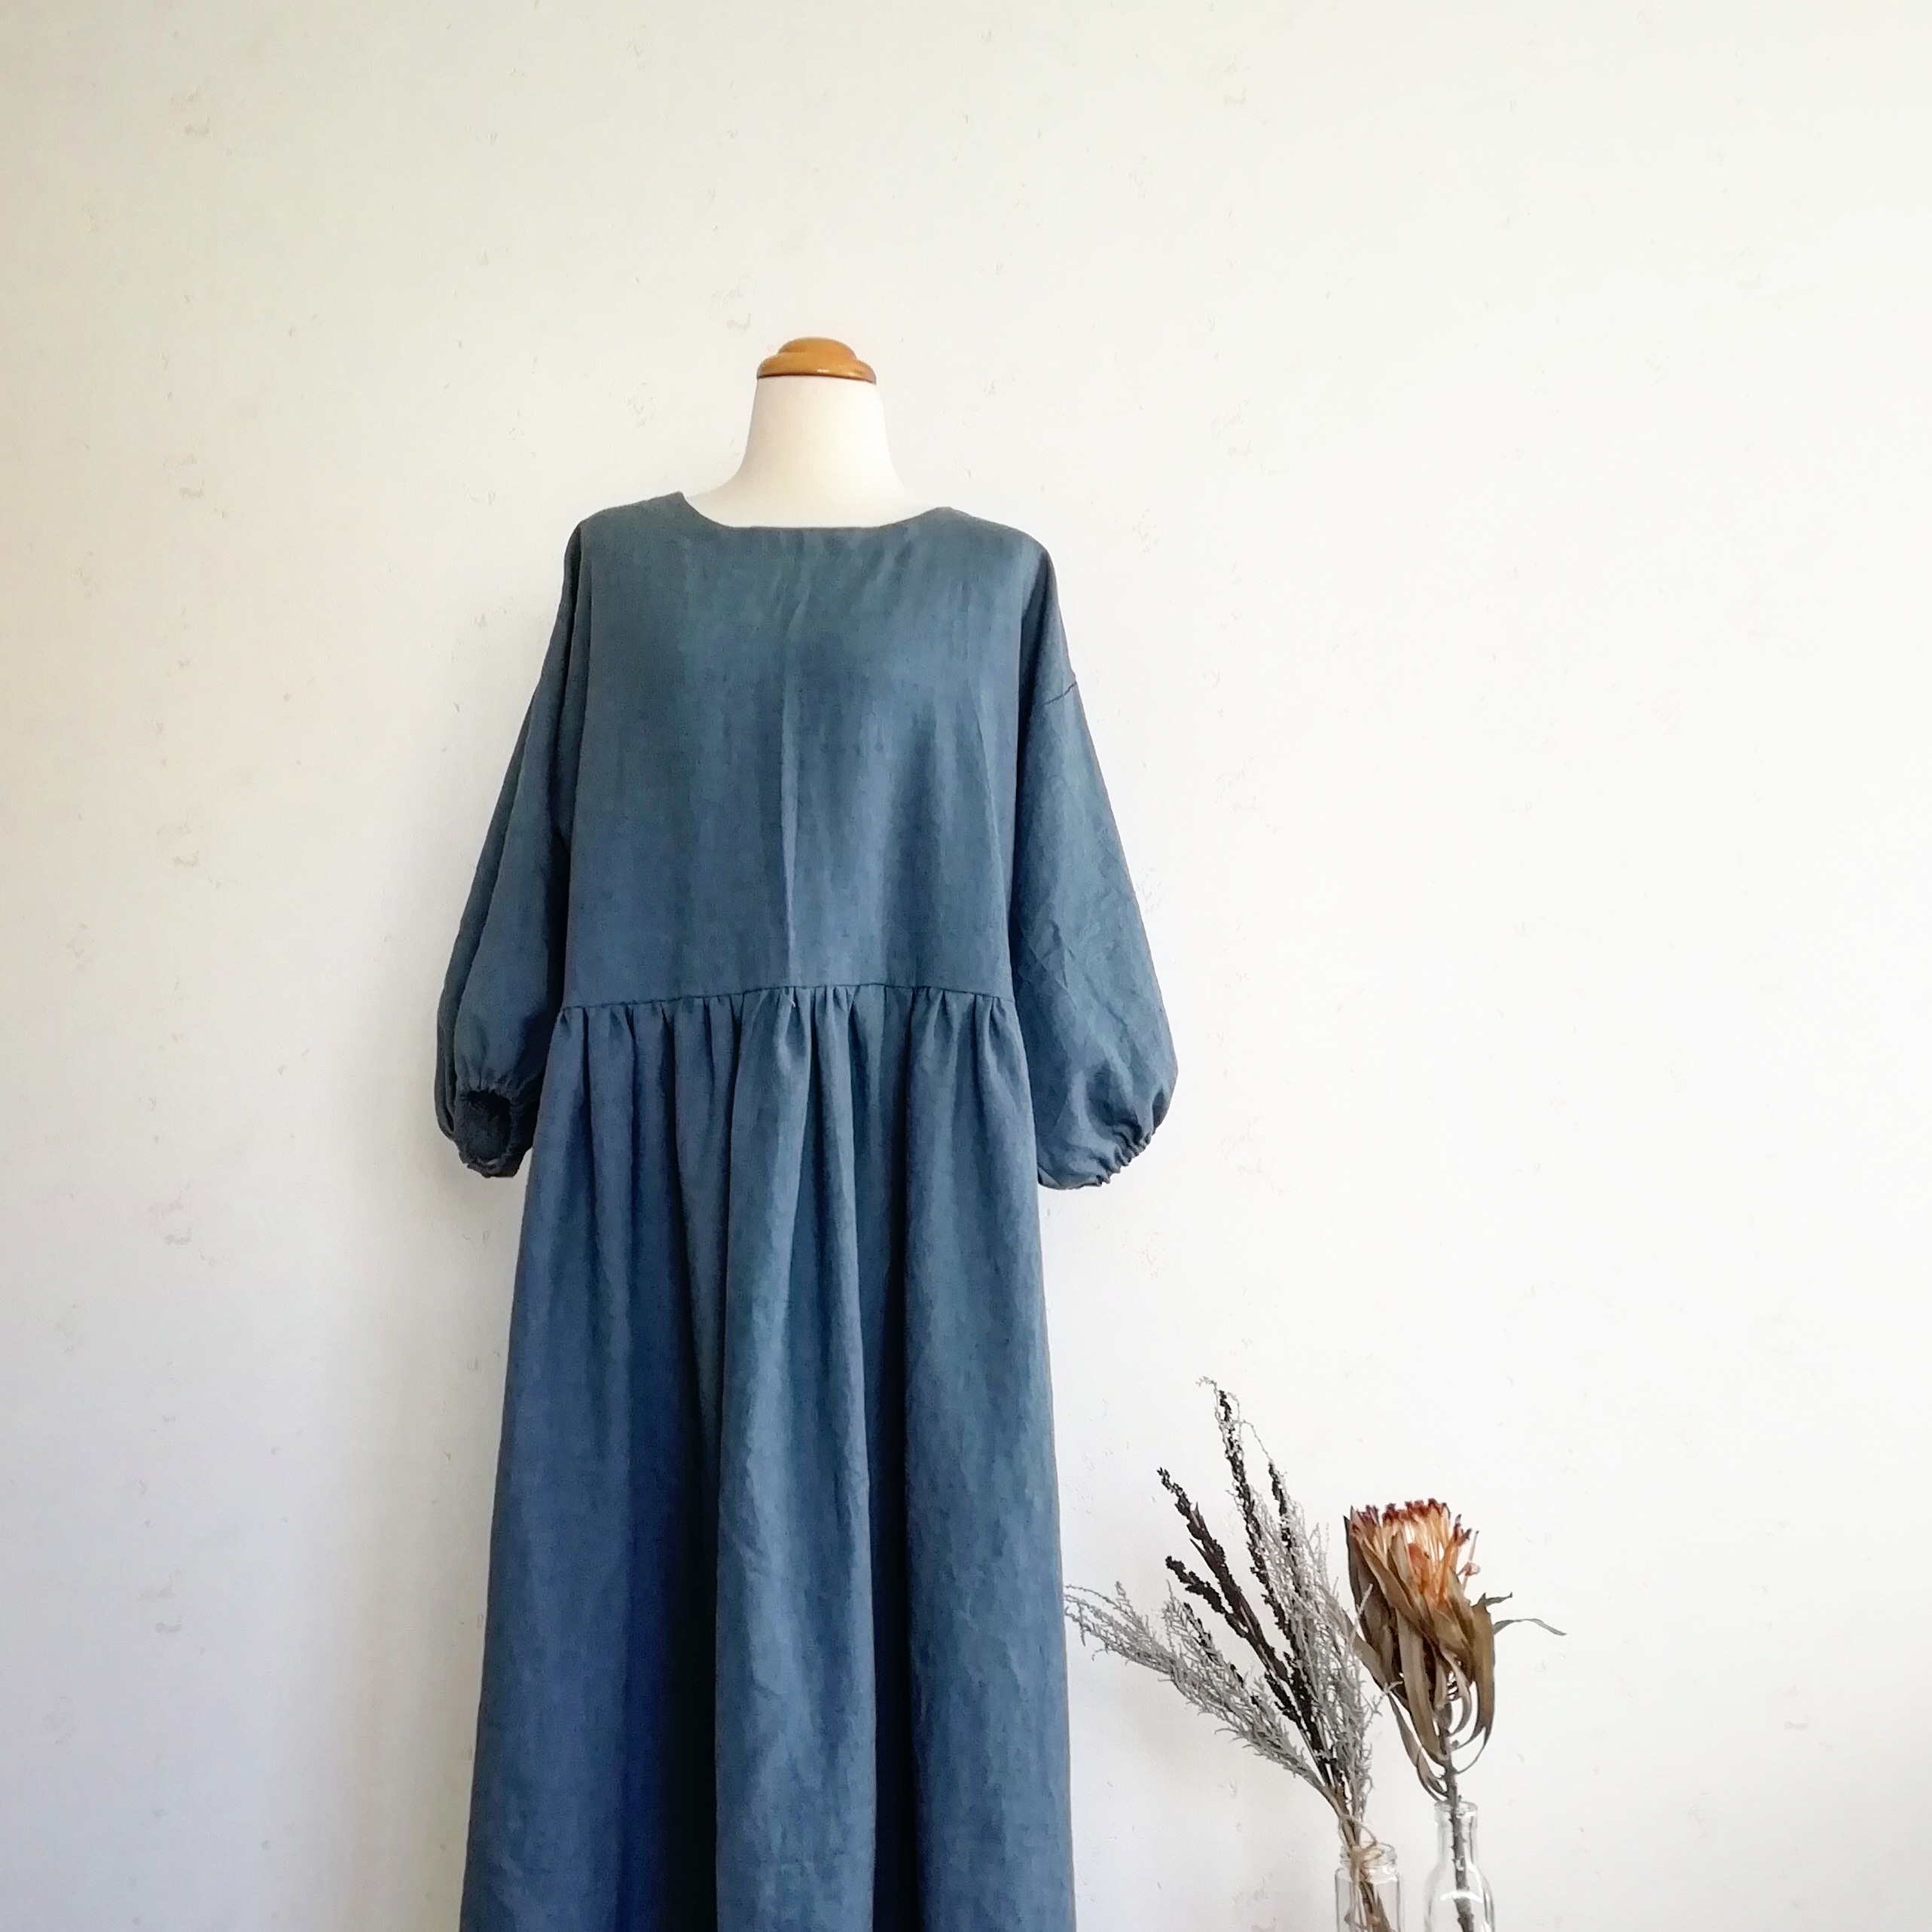
For an optimal balance of durability and low-stress handling, washed medium-weight linen remains the undisputed industry gold standard for sewing clothes without a pattern. It forgives minor stitch wobbles, creases sharply under a domestic steam iron, and softens with every wash cycle.
Engineering Fit Without Hardware, Zippers, or Darts
Zippers, hook-and-eye closures, and contoured bust darts are the primary roadblocks for novice sewists. Installing an invisible zipper requires specialized presser feet, precise seam basting, and millimeter-level alignment to avoid puckered hips. Removing them from the equation transforms the process into a straightforward straight stitch beginner garment.
The mechanics of fastener-free dressing hinge on the relationship between circumference measurements. In any garment lacking stretch or closures, the narrowest opening, the neck and shoulder span, must clear the skull (average adult head circumference measures 21.5 to 23 inches), while the chest cross-section must comfortably pass the widest point of the torso. A 26-inch neck opening perimeter combined with a drop-shoulder seam provides effortless wearability without looking slouchy.
If you prefer definition around the waist rather than a pure shift profile, add an elastic casing inside the dress. Stitch a strip of 1-inch bias tape along the natural waistline on the interior of the garment, thread 3/4-inch woven elastic through the tunnel, cinch it to your body's resting waistline, and backstitch the ends closed. This simple elastic waist dress tutorial modification preserves the effortless straight-stitch method while creating an entirely different, cinched silhouette.
Step-by-Step Dressmaking: Raw Fabric to Finished Wear in 90 Minutes
Executing this step-by-step dressmaking guide requires only four basic tools: a functioning sewing machine set to a standard 2.5 mm straight stitch, sharp fabric shears, an iron, and matching thread. Follow this mechanical workflow to prevent common beginner alignment drift:
First, stitch the shoulder seams. Place the front and back body panels right-sides-together. Pin along the top shoulder lines and sew with a 5/8-inch seam allowance. Press the seams open with a hot iron immediately after stitching; pressing each seam before joining intersections is the single operational difference between amateur-looking projects and clean apparel.
Second, bind the neck hole. You can finish the edge using store-bought cotton bias tape or a 1.5-inch strip of self-fabric. Unfold the tape, align its raw edge with the neckline raw edge (right sides facing), and stitch along the crease. Fold the tape over to the inside of the garment, press flat, and topstitch in place from the exterior 1/8 inch from the fold. The neckline is now completely enclosed, smooth, and fray-free.
Third, hem the armholes while the garment is still laid flat. Fold the raw armhole edge inward 1/4 inch, press, fold another 1/4 inch to enclose the raw edge, and stitch down. Repeating this before closing the side seams avoids the hassle of sewing tiny, tubular armhole hems in tight circles.
Fourth, close the side seams. Pin the dress from the base of the armhole straight down to the bottom hem on both sides. Run a continuous straight line from top to bottom, backstitching at each terminus. Finish the raw inner edge with an overcast stitch, a three-step zigzag, or standard pinking shears to halt unraveling.
Fifth, press and stitch the bottom hem. Turn the hem up 1 inch, press, fold it up another 1 inch to create a substantial, weighted hem, and edge-stitch. Give the entire dress a thorough steam press. Your project is wearable, washable, and finished.
Frequently Asked Questions (FAQ)
Q1: Can I make this dress if my bust and hips fall into different size categories?
A1: Yes. The primary strength of pattern-free cutting is custom grading on the fly. When chalking the side seam downward from the armpit, simply guide your ruler outward to provide extra width across the hip measurement. Ensure the half-width of the fabric panel at hip level is at least 3 to 4 inches wider than half of your widest hip circumference to guarantee full sitting mobility.
Q2: Do I need a serger or overlocker to keep the inner raw edges from fraying?
A2: No. Standard household sewing machines handle edge finishing effectively. Set your machine to a wide zigzag stitch (width 3.5 to 4.0, length 1.5) and sew along the cut edge so the needle drops over the edge on the right swing. Alternatively, use pinking shears on tightly woven linen, or sew French seams by initially stitching wrong-sides-together at 1/4 inch, trimming, and re-stitching right-sides-together at 3/8 inch.
Q3: Why did my neckline stretch out and warp while I was sewing the binding?
A3: Curved necklines cut on woven cloth expose the fabric's bias (the 45-degree angle of the weave), which stretches under the slightest pull from the machine foot. To avoid this, sew a line of staystitching (a regular straight stitch 1/2 inch from the raw edge) directly onto the curved neckline immediately after cutting the fabric, before you join the shoulders or attach bias tape.
The Sustainable Shift Toward Independent Wardrobes
The sudden surge in no-pattern dressmaking is more than an aesthetic trend. It represents a practical realignment of how everyday consumers evaluate clothing quality, retail pricing, and personal agency. When someone discovers that an afternoon and thirty dollars of washed flax linen can produce a timeless, comfortable garment that outlasts chain-store equivalents, the dynamic of wardrobe acquisition changes permanently.
Moving away from pre-packaged commercial patterns removes the artificial gatekeeping that kept sewing confined to specialized workshops. By trusting basic geometry, respecting fabric properties, and mastering the straightforward straight stitch, any beginner can bypass retail markups and build a custom wardrobe on their own terms. The tools are minimal, the techniques are direct, and the result is a dress built to be lived in.